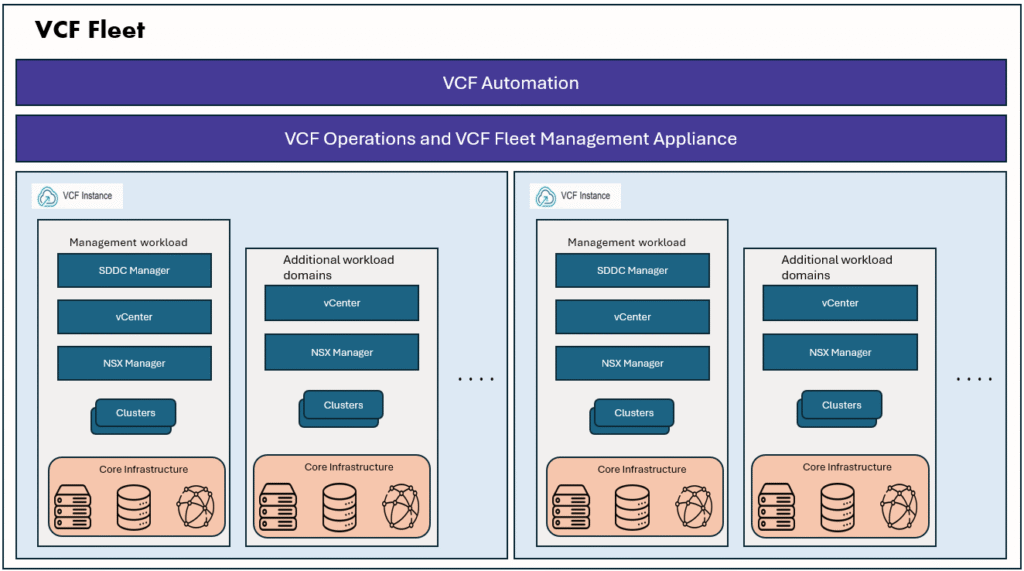
In this blog, we will walk through the process of configuring VCF Single Sign-On (SSO) with Ping Identity as an external Identity Provider (IdP).
Before you begin the configuration, ensure that the required network connectivity is in place between the VMware Cloud Foundation (VCF) components and the Ping Identity servers. At a minimum, verify connectivity from the following VCF components:
- VCF Identity Broker (FQDN/IP address)
- VCF Management Services Runtime IP range
If firewall restrictions exist between these components and the Ping Identity servers, work with your network or security team to ensure that the required firewall rules are implemented before proceeding with the configuration.
For a detailed list of the source IP addresses, destination ports, and firewall requirements for integrating Ping Identity with VCF SSO, please refer to my previous blog.
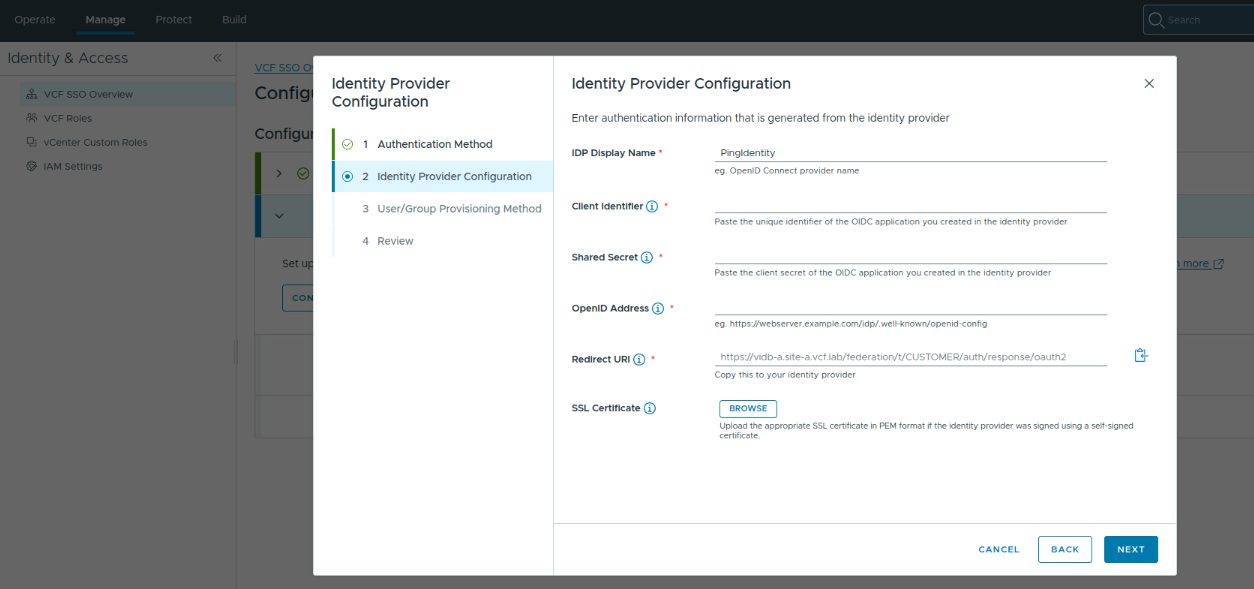
Next, we need to get the following details to configure VCF SSO with Ping Identity IdP.
Client ID, Shared Secret, OpenID Address, SSL certificate (optional).
Please copy the redirect URI from this screen and share it with customer’s Ping team and request them to configure OIDC client in Ping.
Once you have all the details, please log in to VCF operations console, go to Manage, Identity & Access, VCF SSO Overview.
Click Configure VCF SSO.
Choose the deployment mode.
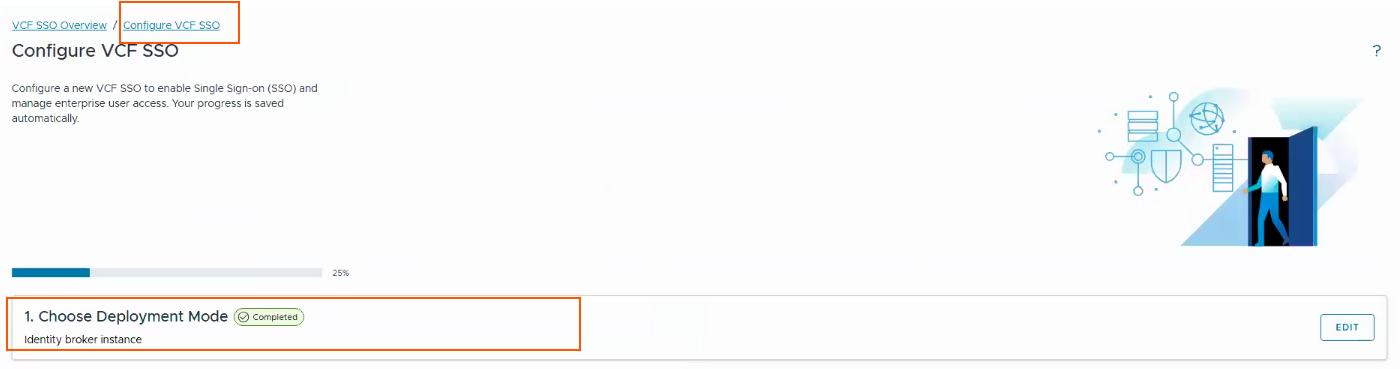
VCF SSO provides two deployment modes for the Identity Broker:
Instance (Recommended) – In this mode, VCF uses the Identity Broker (VIDB) instance deployed on the VCF Management Services Runtime cluster. This is the recommended deployment option as it provides better scalability and aligns with the VCF 9.x architecture.
Embedded – In this mode, the VCF Identity Broker (VIDB) is enabled and configured directly within the Management Domain vCenter Server, instead of using a dedicated Identity Broker instance on the VCF Management Services Runtime cluster.
Next proceed to the second step, configure your Identity provider.
Select Modern Identity provider “Ping Identity” option, click Next to configure your Identity provider.
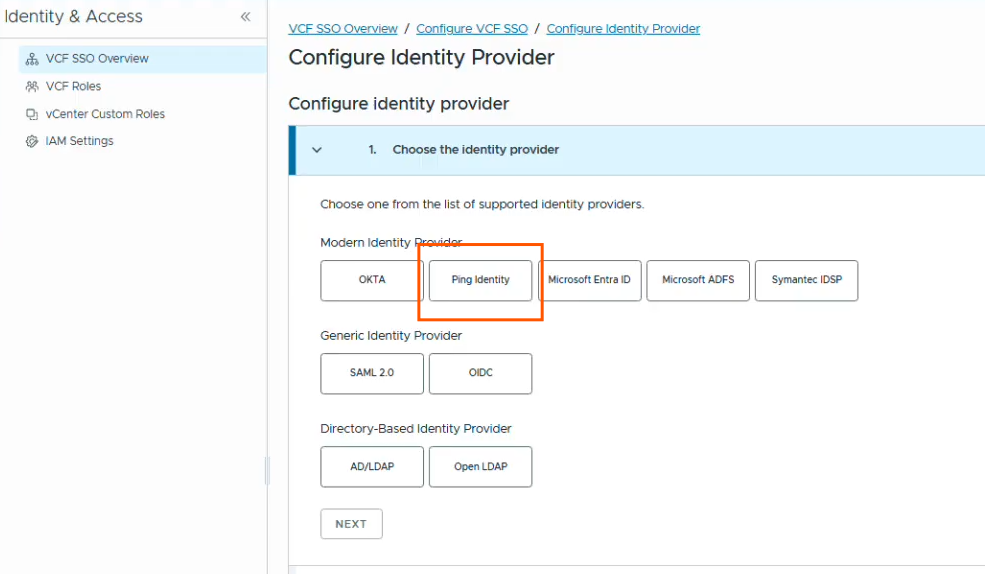
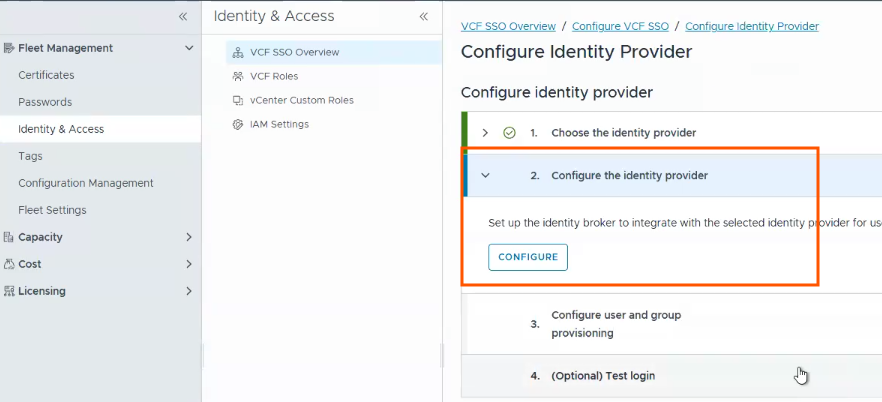
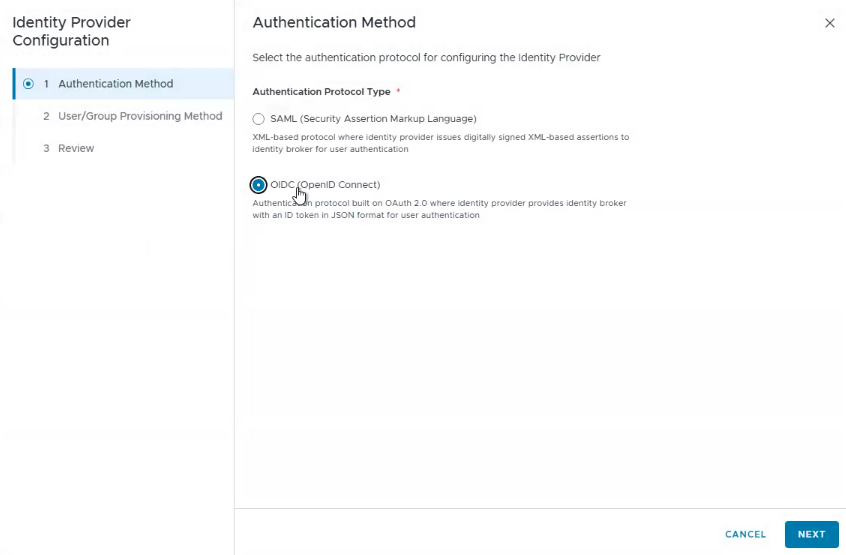
Then select the OIDC option.
Next provide these details you gathered from customer’s Ping team. SSL certificate is optional, it depens on the customer environment.
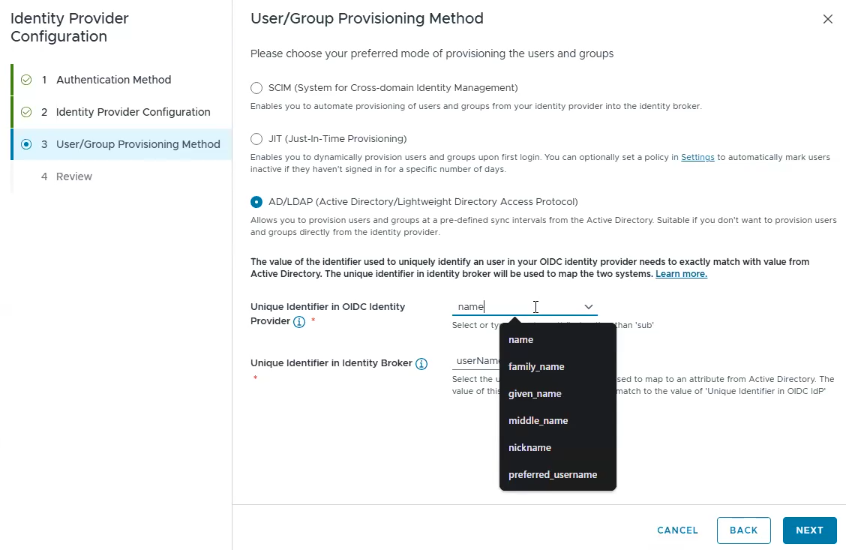
Then click Next to proceed to define the User/Group configuration method.
We selected preferred_username for Unique identifier in OIDC Identity provider.
Then provide the details of your AD server, and you need to have LDAP certificate, you can provide secondary DC details if you want to, but it is optional.
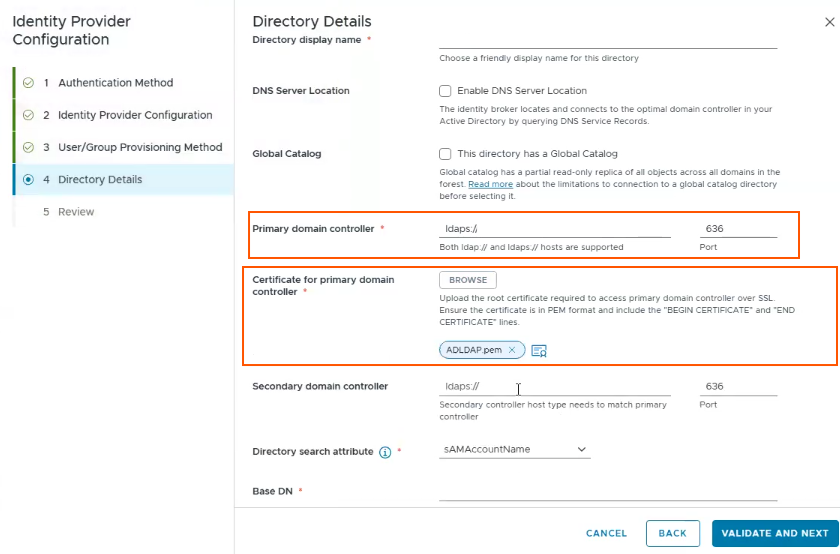
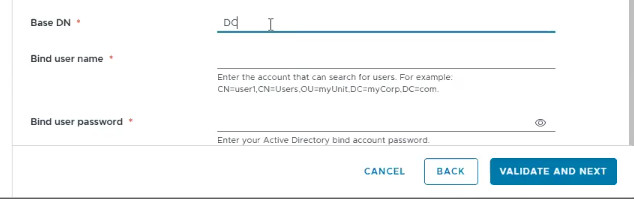
Once you provided all the details, click on VALIDATE and NEXT.
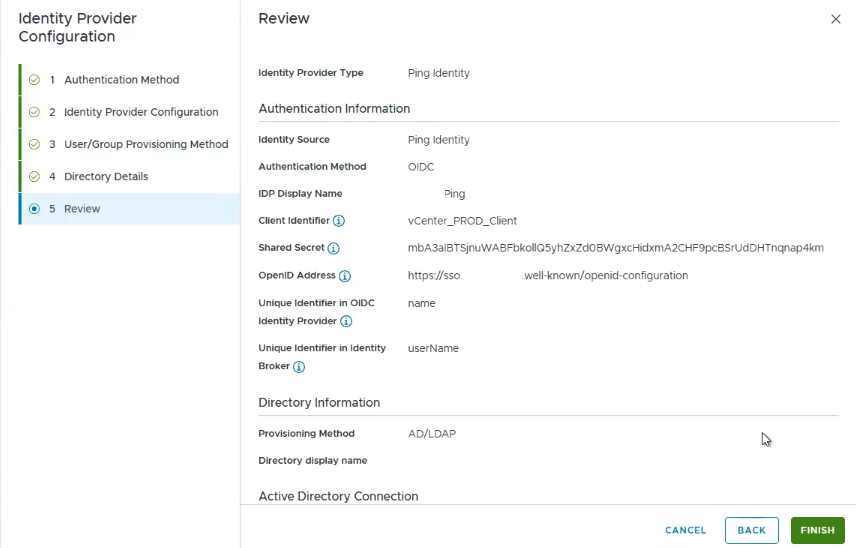
Do the final review and click on FINISH button to complete the Identity provider configuration.
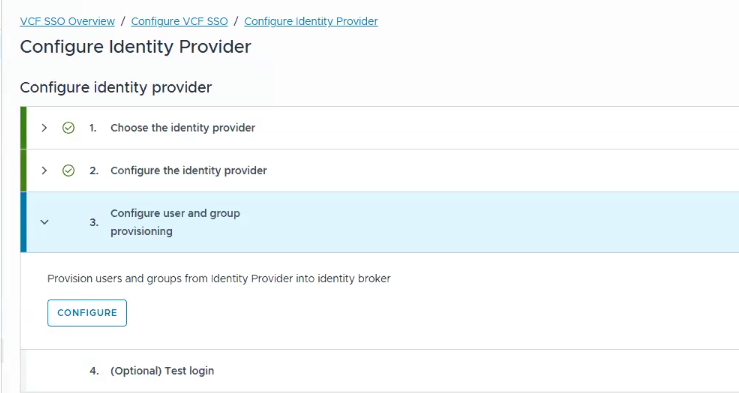
Next step is to configure user and group provisioning.
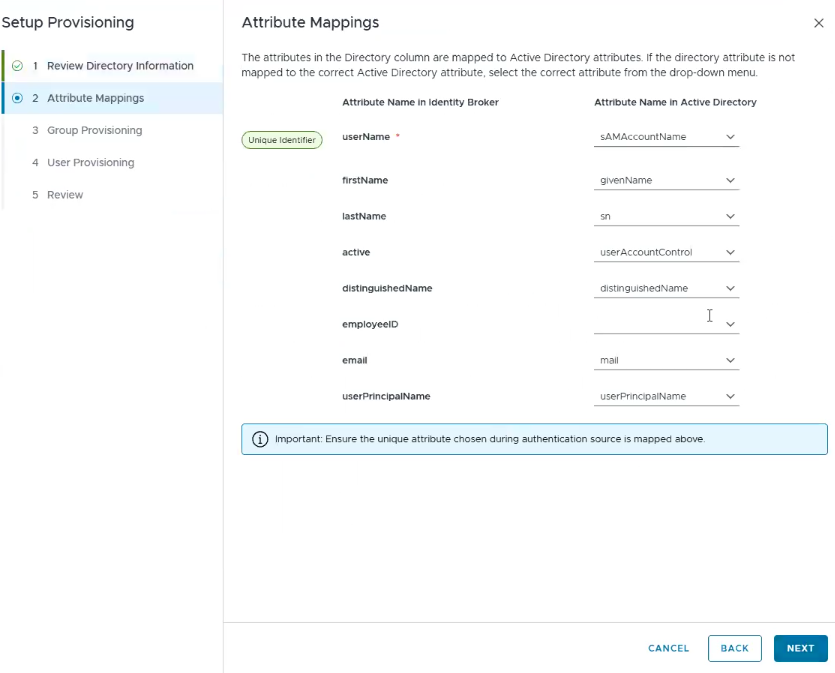
Define the attribute mappings.
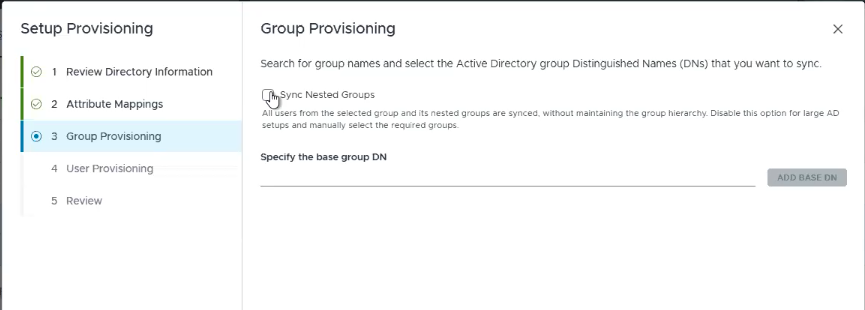
Provide the base group DN for group provisioning. Select the required groups and click NEXT.
Next, provide the base user DN, select the required users and click NEXT.
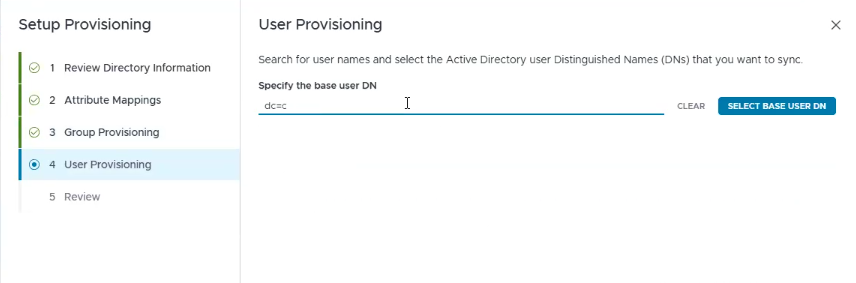
Do the final review and click FINISH. In our testing we only selected 2 users for initial provisioning.
Next the final step is do test logins.
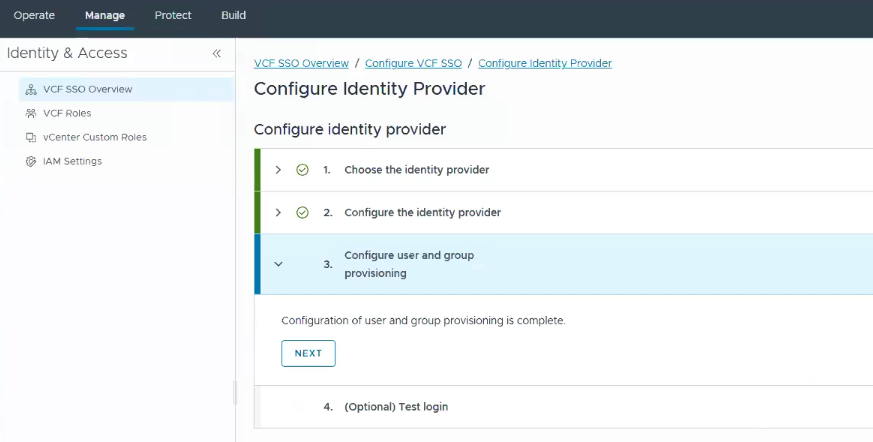
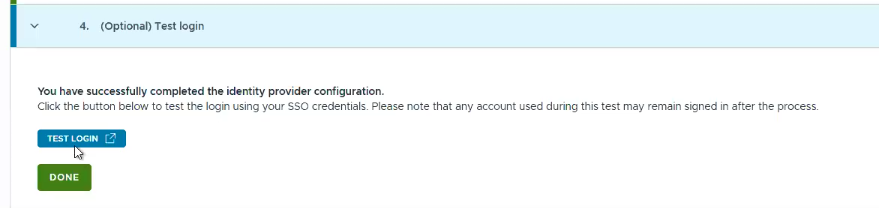
On the test login it failed because there is no preferred_username is not defined in OIDC published configuration.
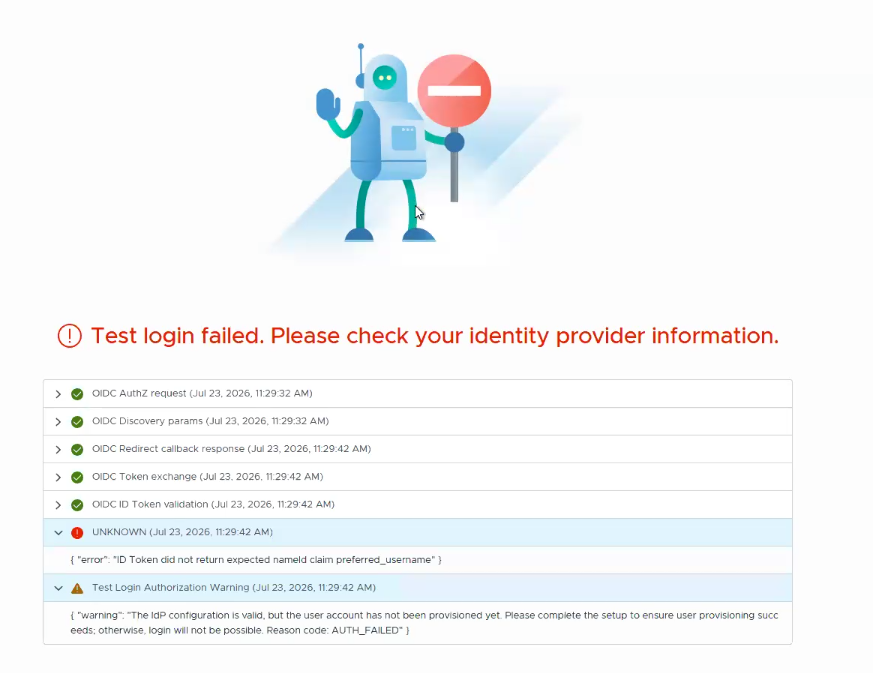
we double checked our configuration and confirmed that we are using below combination.

We informed customer’s Ping team to check OIDC published configuration, requested them to add preferred_username into the claims supported list.
This fixed the problem. Test login was successful.
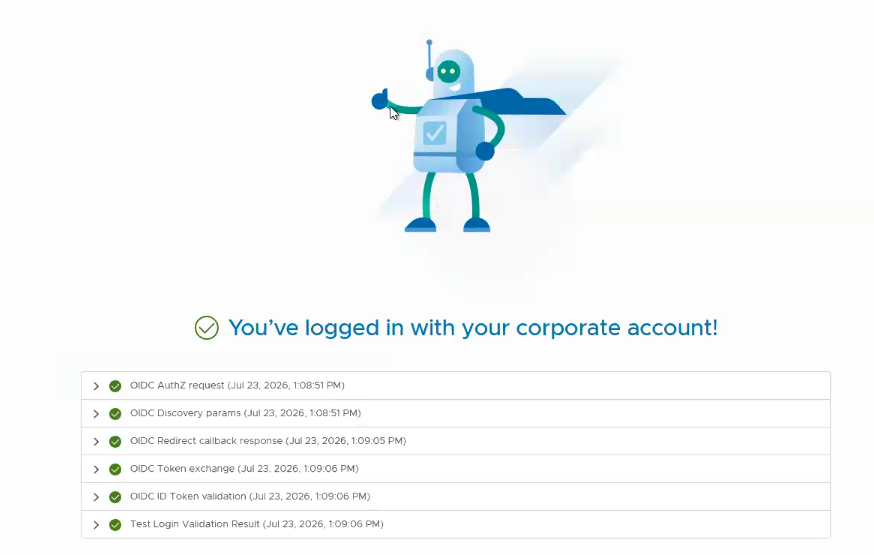
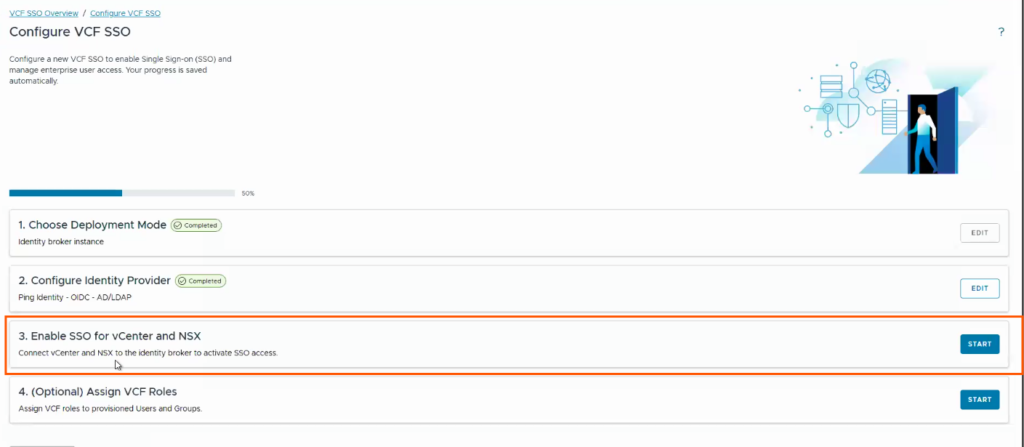
Next, we enabled the SSO for vCenter and NSX.
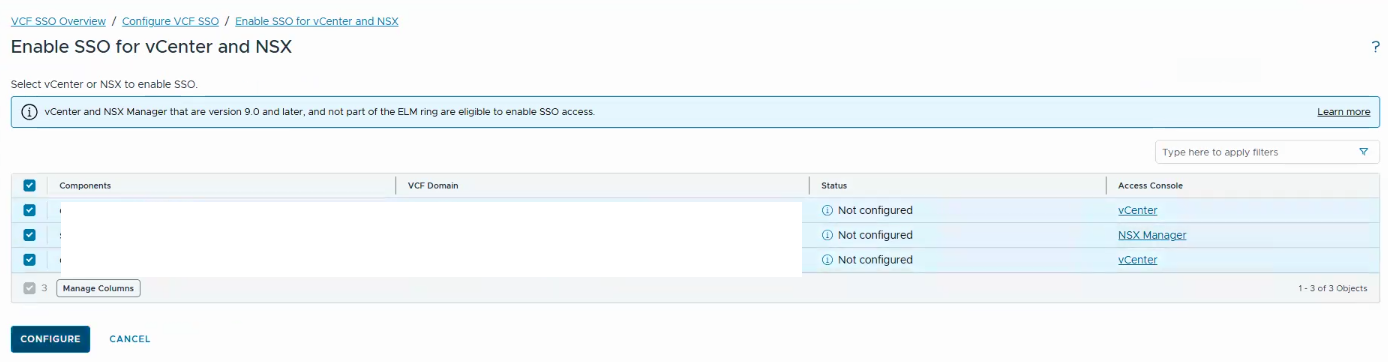
Just select all the components for which you want to enable VCF SSO and click configure.
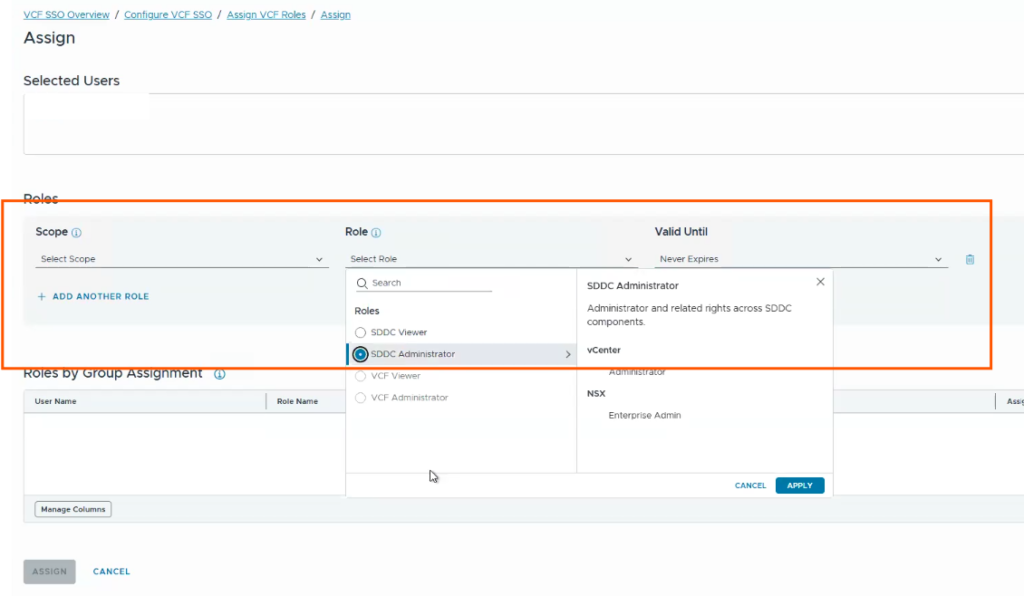
Next, we can assign inbuilt VCF roles to the imported users and test the user login.
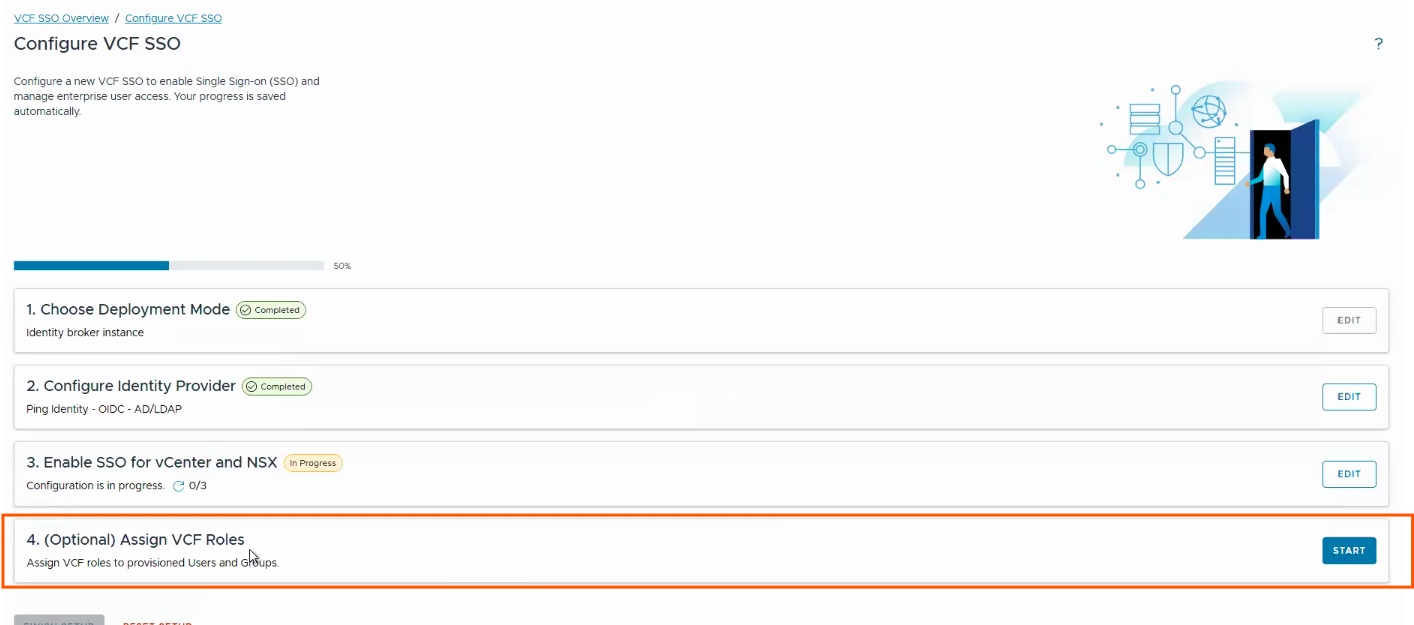
Select user or group, click assign button to assign roles. To get more understanding on VCF roles please refer my previous blog
That’s it for today’s blog. Thank you for reading.