Welcome back to my blog series, we discussed sample project requirements in part1, if not please read it here to understand the project requirement and current infrastructure details.
- Part 1: Automate VM Builds in VCF9 Automation VM Apps Org – Sample Project
- Part 2: Configure VCF SSO as Identity Provider in VM Apps Organization
- Part 3: Configuring VM Apps Organization for Automated VM Builds
- Part 4: Integrating Embedded vRO with VM Apps Organization in VCFA
Important Note:
I do not currently have an infrastructure environment identical to the one described in the sample project requirements in previous blog. However, this blog focuses on explaining the process of creating a VM Apps Organization in VCF 9 Automation, along with the steps involved in setting up the required infrastructure components.
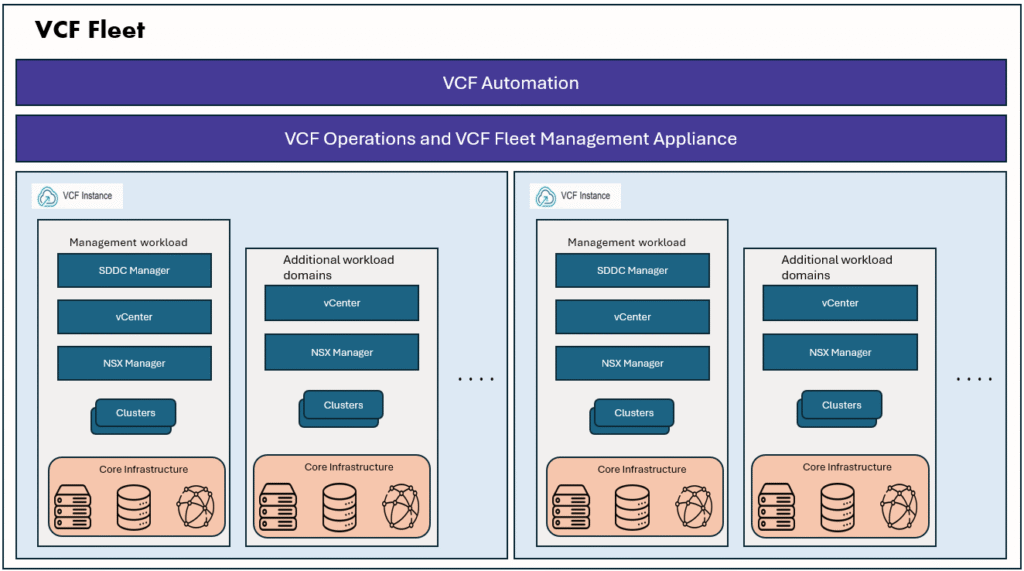
As we reviewed the sample project requirements, our objective is to achieve automated VM provisioning. To accomplish this, we will use a VM Apps Organization in VCF 9 Automation.
Before diving into blueprint design and publishing it to the catalog, we must first configure the VM Apps organization so that it can discover and integrate with the underlying infrastructure resources such as vCenters, compute clusters, storage, and networks.
In this blog we will configure VM Apps organization, connect to the vCenters and configure the deployment infrastructure according to the project requirements, we will use tags wherever required. On high level we will need to perform below steps for setting up the infrastructure in VCFA VM Apps organization.
- Create a VM Apps Organization
- Add Identity provider (OIDC/LDAP/SAML) and import user and groups (refer my blog)
- Create vCenter/NSX Cloud Accounts
- Create Cloud zones
- Create Image Mappings
- Create Flavor Mappings
- Create Storage profiles
- Create Network profiles
- Add integration to embedded VRO
- Run “Add vCenter Server” workflow to populate VRO inventory with vCenter
- Run “Add Active directory server” workflow to populate the VRO inventory with AD server
Let’s log into the VCFA provider portal, enable the feature flag “VM Apps Organization Creation”.
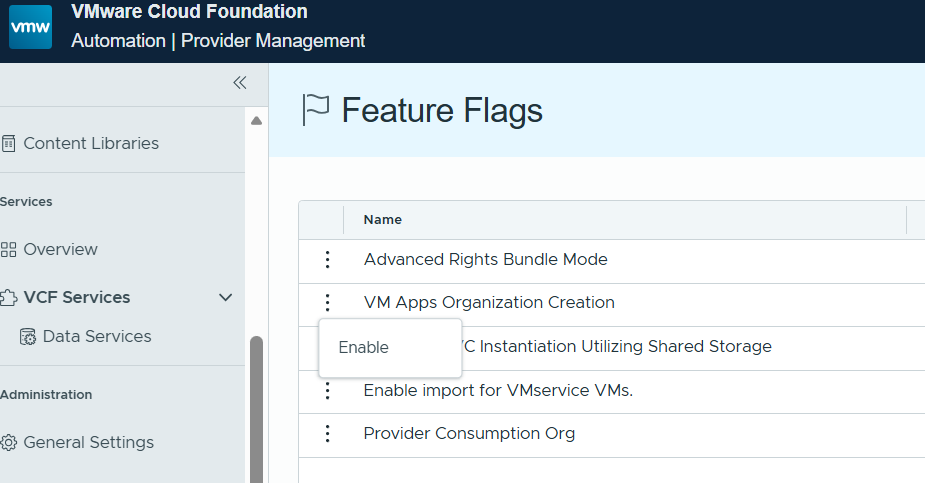
Next go to Organizations and Create VM Apps Organization
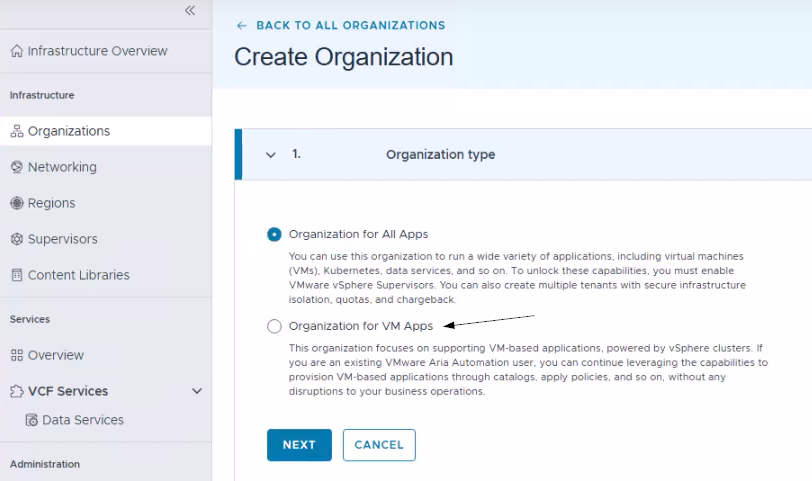
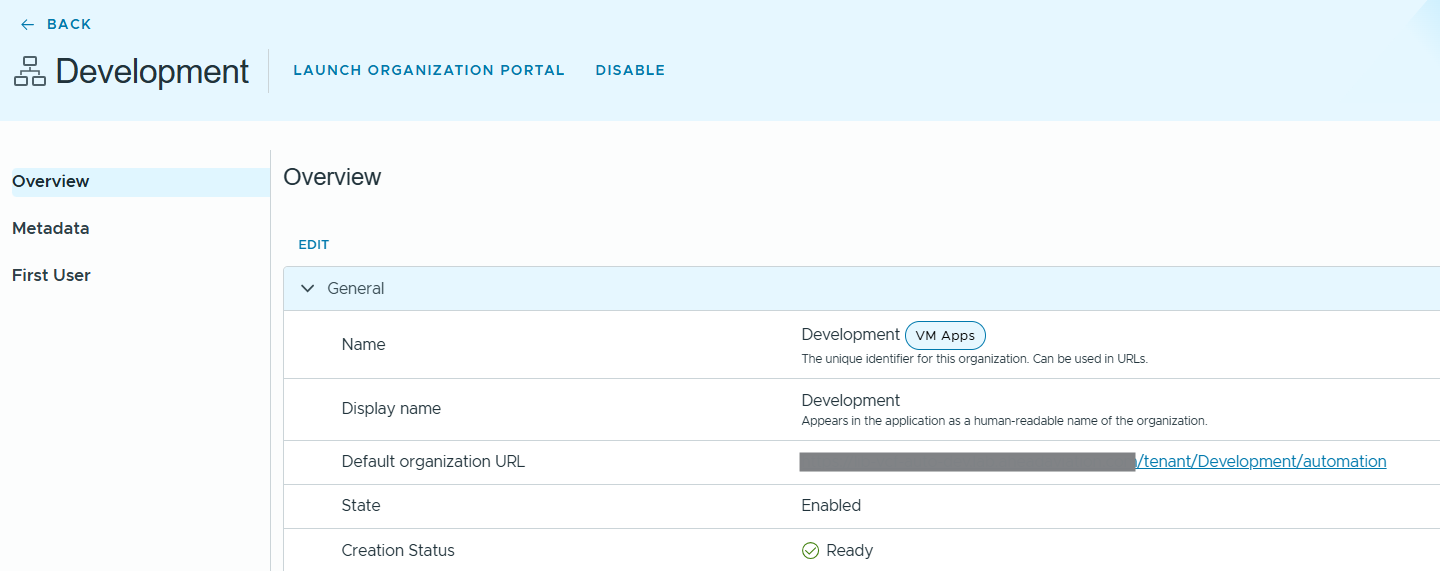
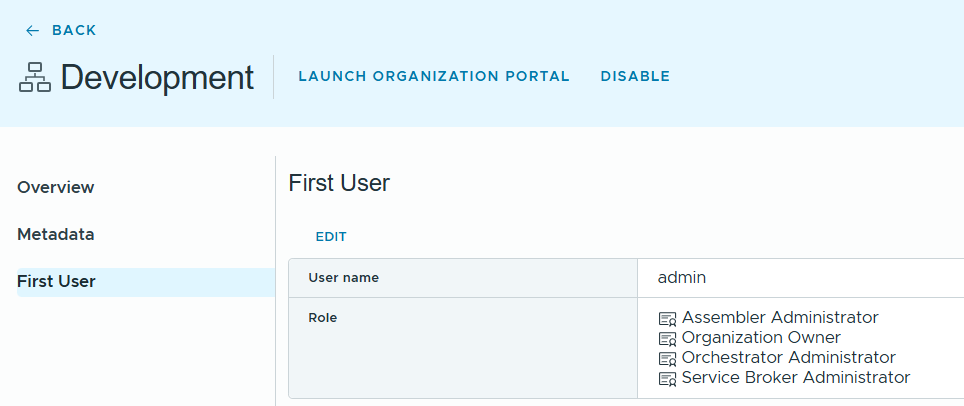
Provide the name for the organization, add first user and assign administrator roles to the first user.
I have already created a VM Apps organization I named it as “Development”. You can see the VM Apps organization portal URL below.
Next login to the VM Apps organization portal as first user and configure the Identity provider. I will use VIDB/VCF SSO as OIDC Identity provider for this VM Apps Organization. I have already configured it, for detailed steps please check my previous blog.
Next, we will create cloud account for vCenter.
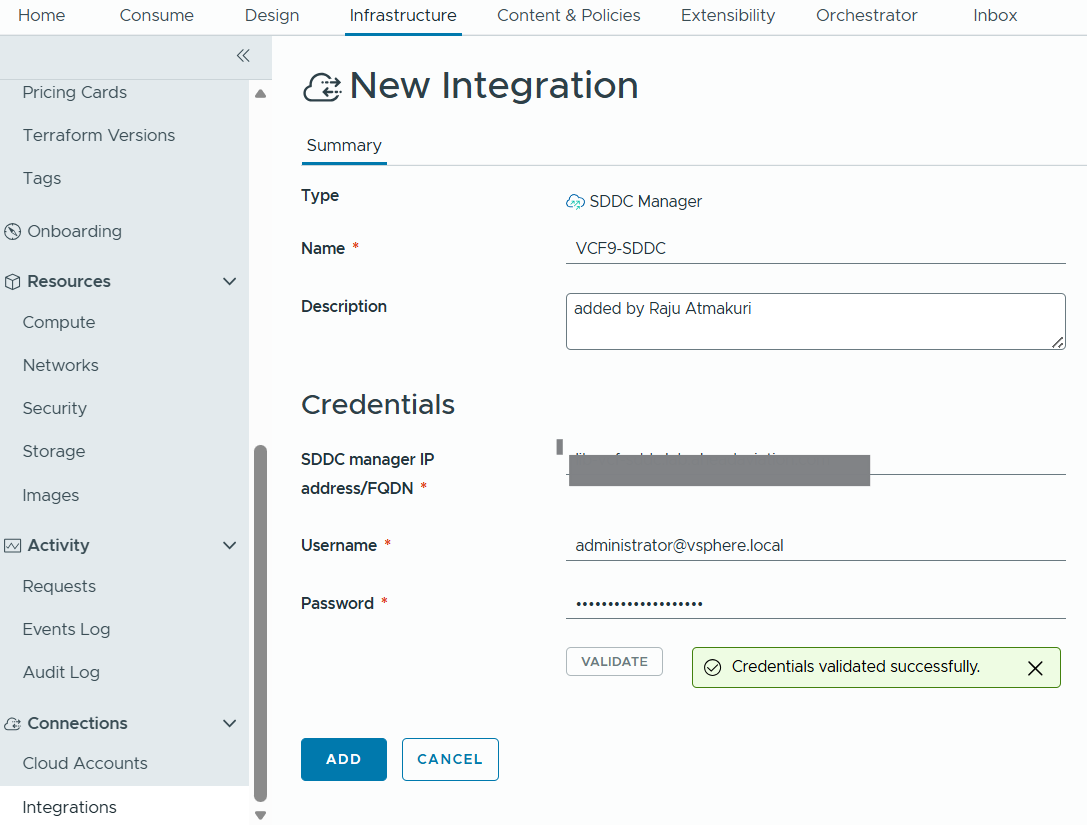
We will login to VM Apps Organization as VCF SSO User or admin user, go to Integrations tab –> New Integration –> Select SDDC Manager integration.
we can see the workload domains are discovered correctly. Next, we will add cloud account.
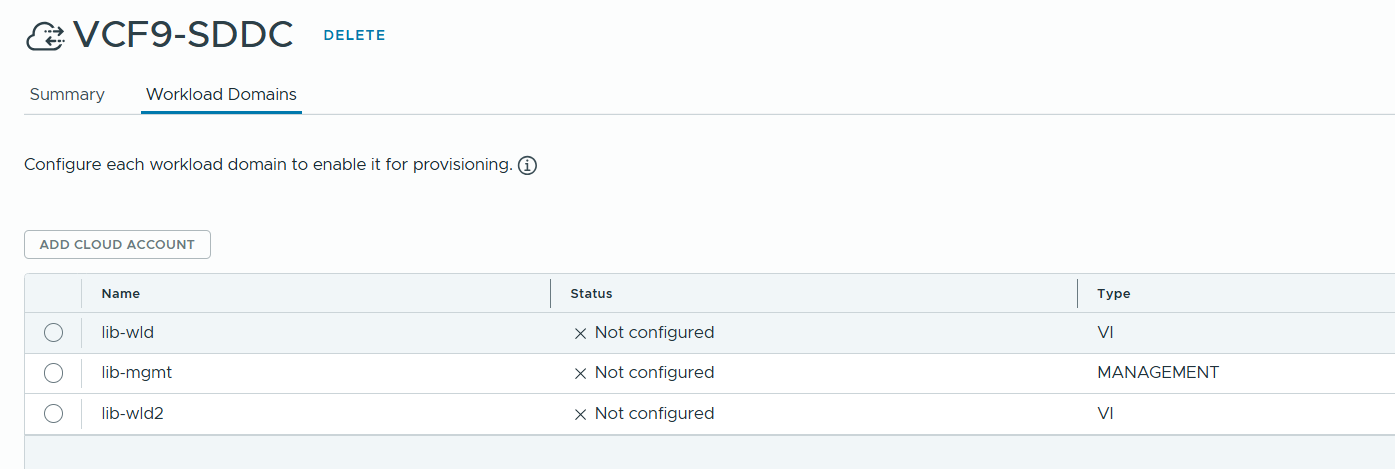
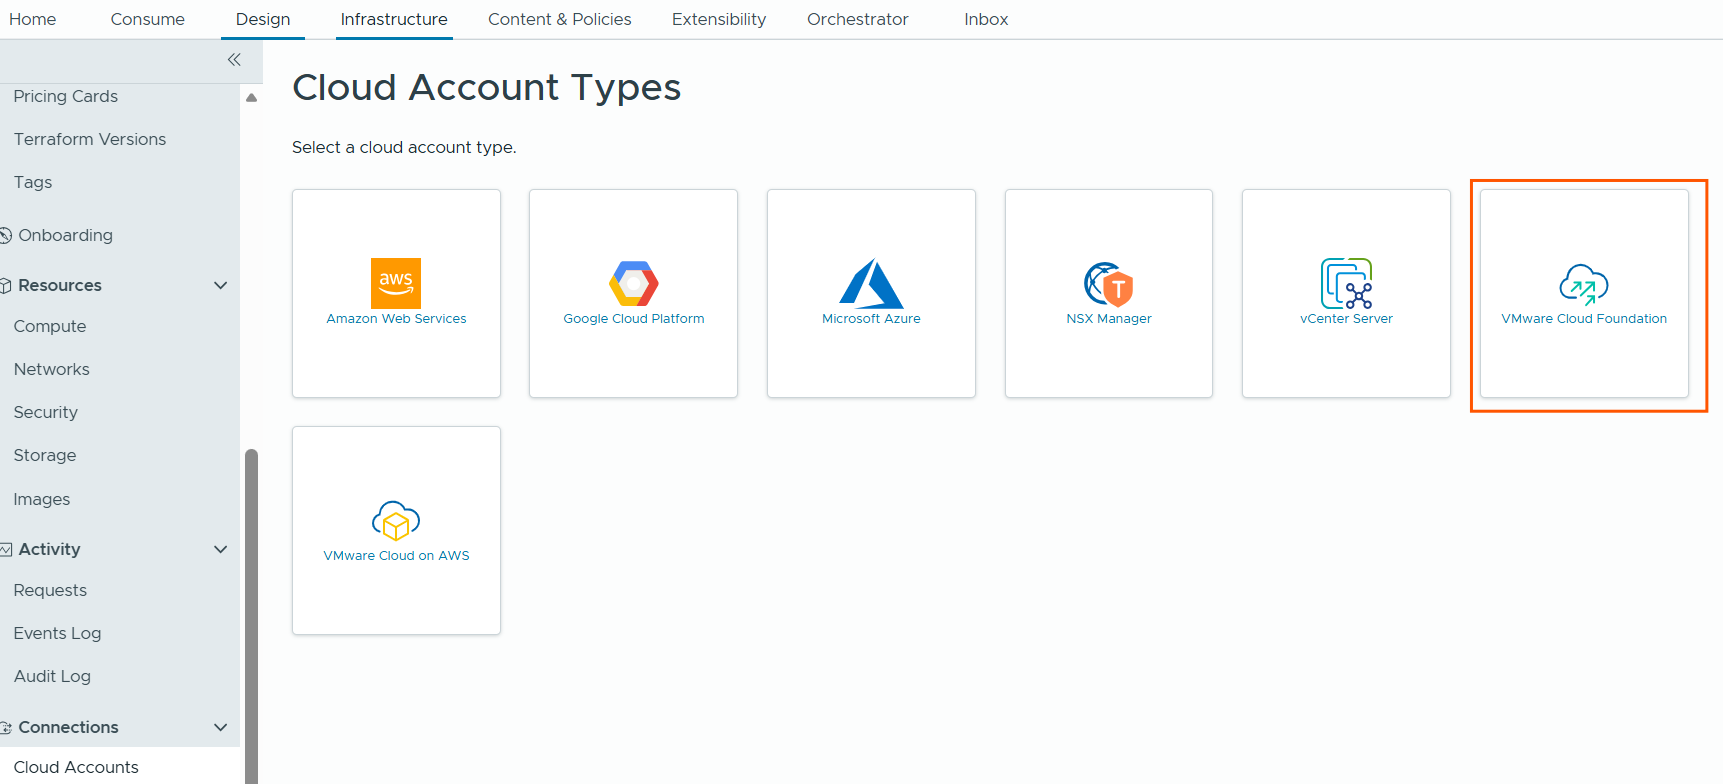
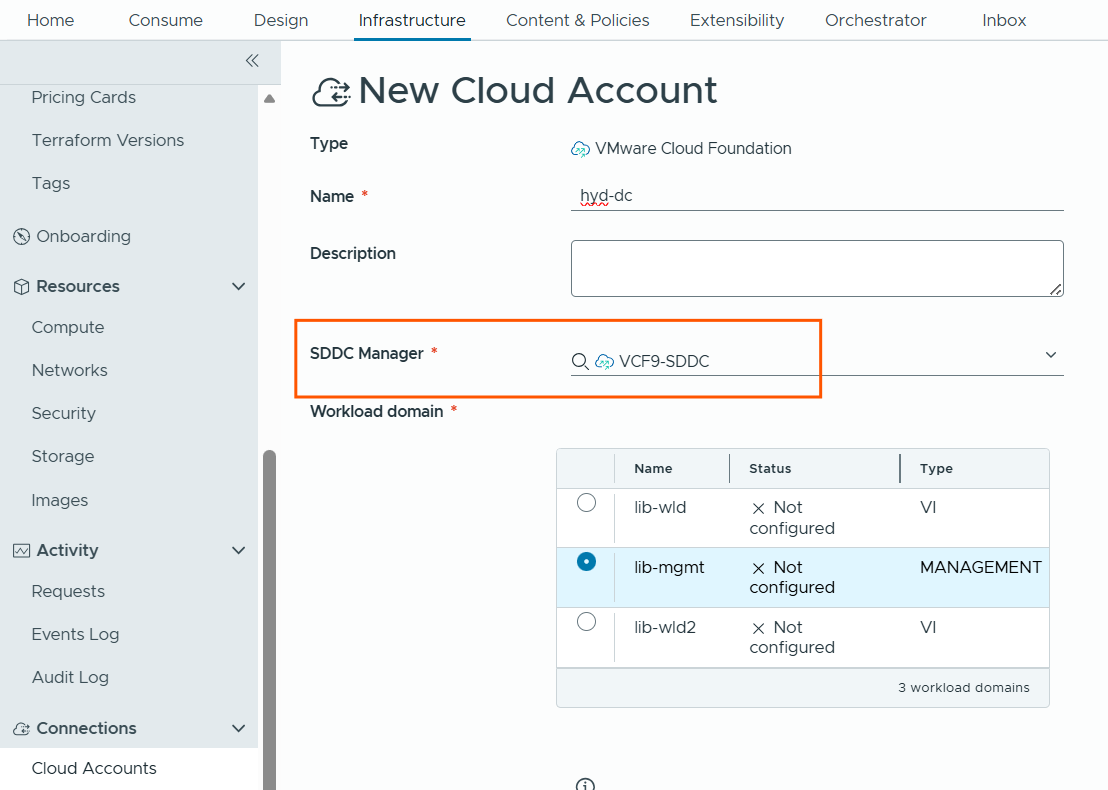
Go to connections –> Cloud Accounts –> Add Cloud Account -> select VCF cloud account type –> Choose name, select the SDDC Manager instance we created earlier, and it will display available workload domains, now select the workload domain, provide vCenter details.
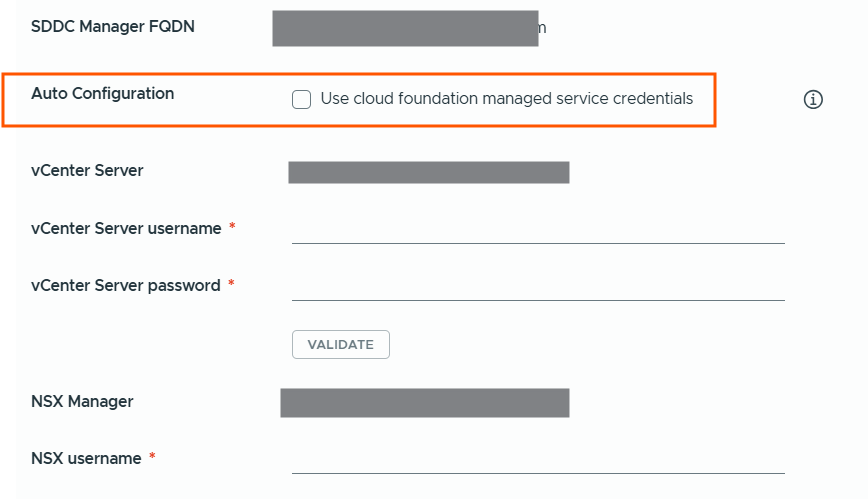
we can manually provide the service account details for vCenter and NSX or we can choose to configure automatically.
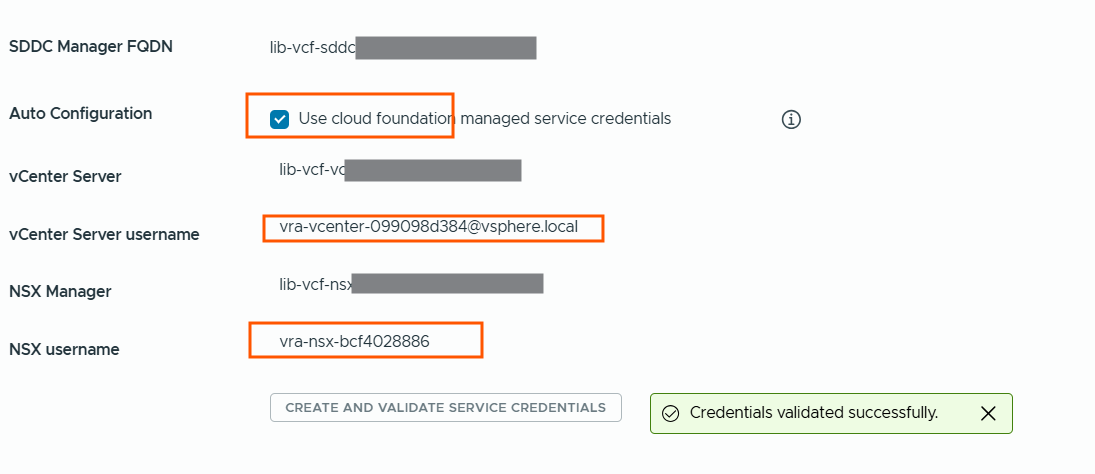
I have selected auto configuration option and clicked to create and validate service account credentials.
It created service accounts and validated automatically.
Next in the configuration section, I have selected the datacenter discovered in this workload domain. Added capability tag “location:hyd”.
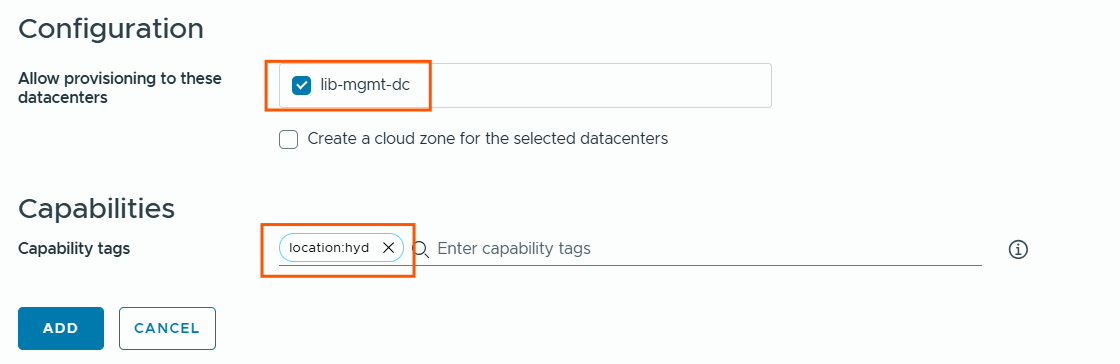
Next we will repeat same procedure and add second workload domain as cloud account and add tag as “location:vizag”.
We have successfully added two cloud accounts.
one represents hyd-dc location, second one represents vizag-dc location.

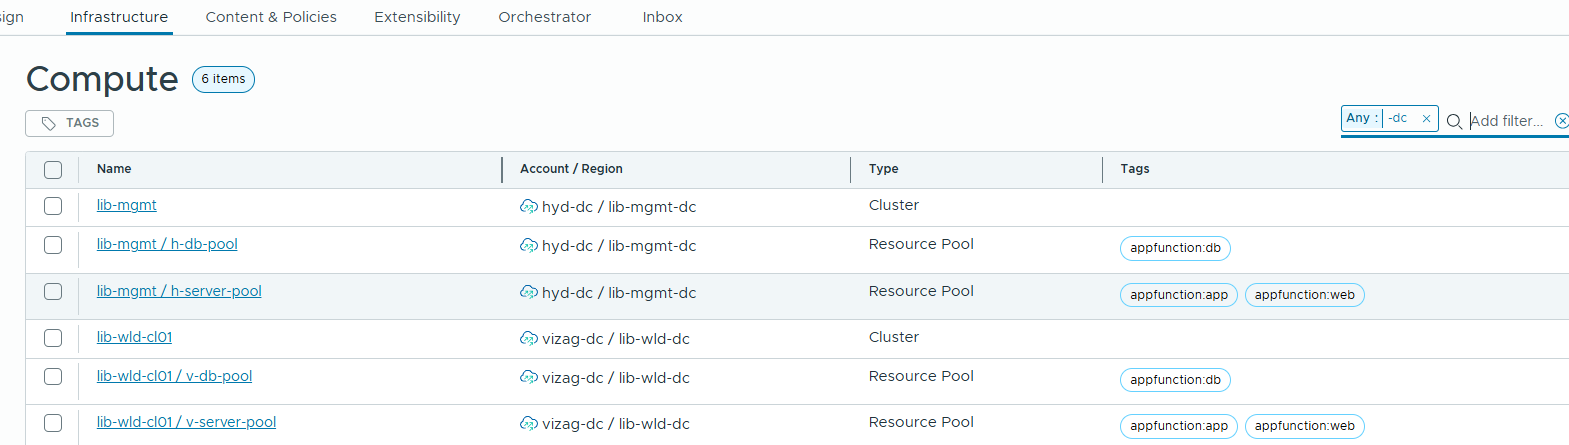
Now we will go to compute section and add the tags to represent the compute.
as we have separate resource pools for different type of servers, we will tag them appropriately.
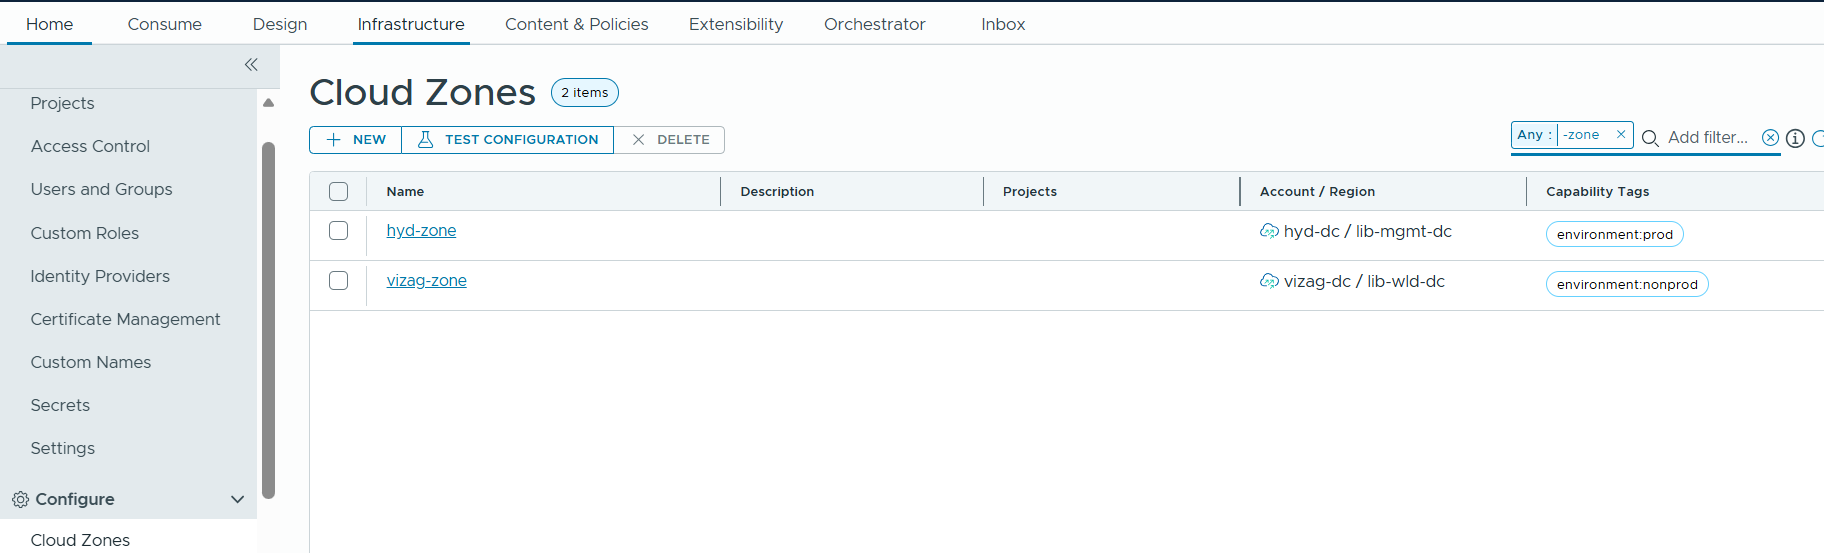
Next we will need to create cloud zones and select the appropriate compute. As per the sample requirements, we want to represent hyd-dc as prod, and vizag dc as nonprod.
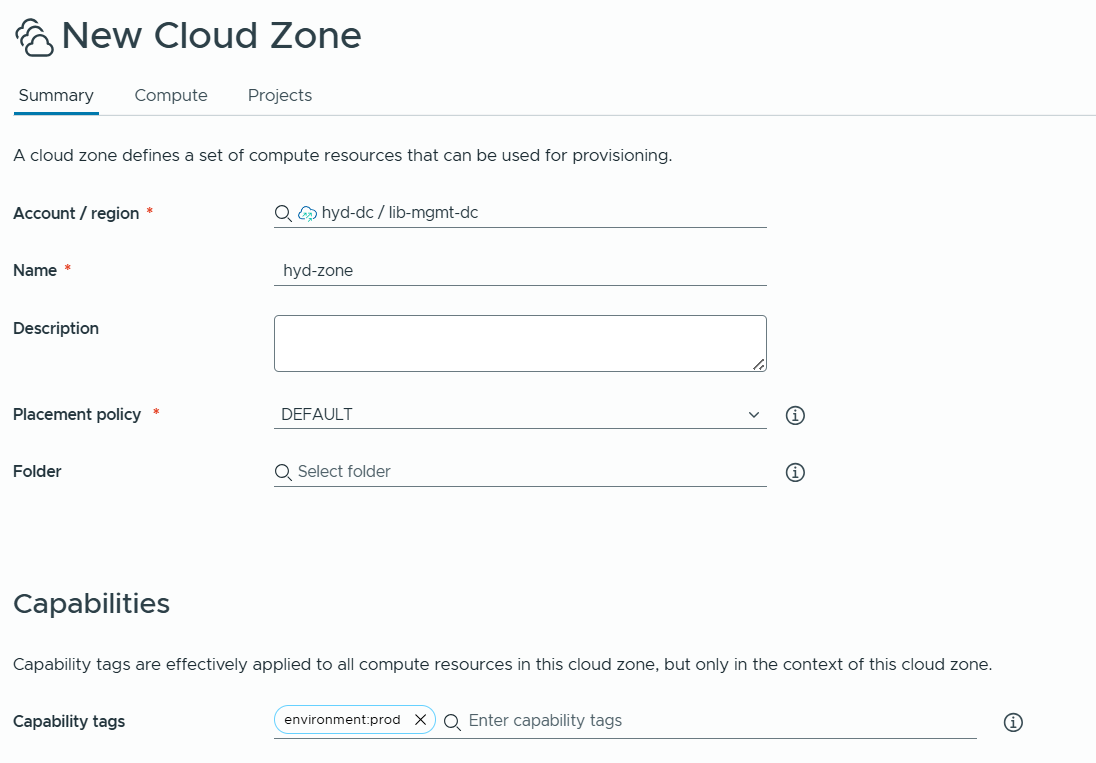
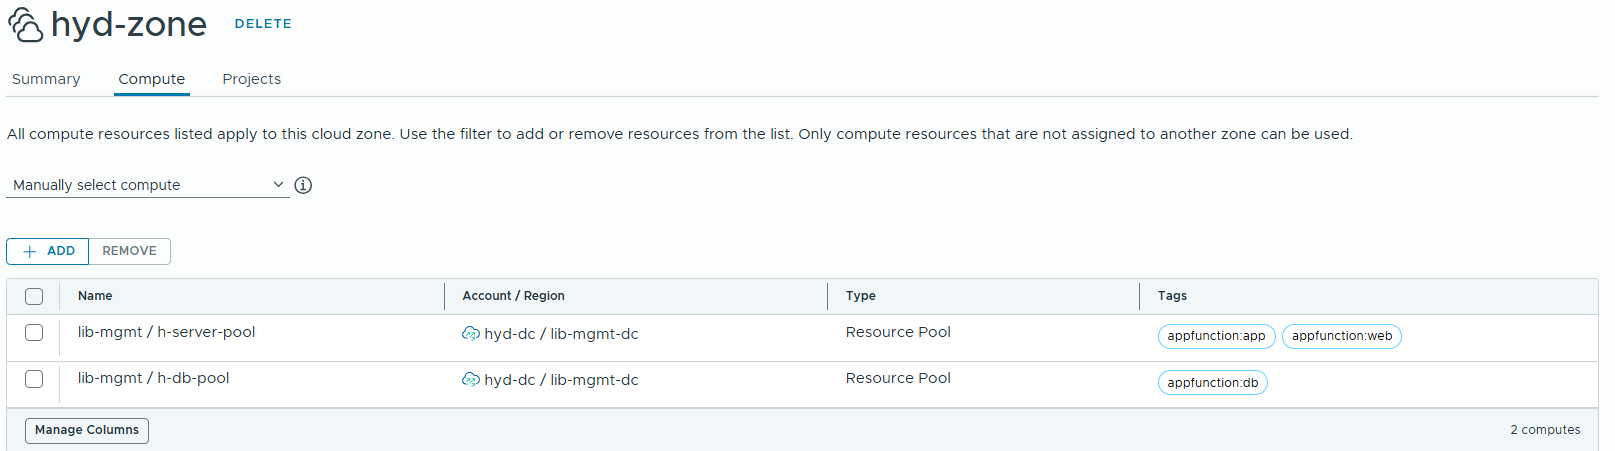
Next,we will do the same for Vizag-zone as well.
Next we will create Flavor Mapping and Image Mappings.
With Flavor mappings, we can specify how much cpu and memory resources can be used by VM, VM deployment requests can refer this flavor mapping to get the resource size allocation. I have created X-Small, Small, Medium, Large, X-Large for both regions.
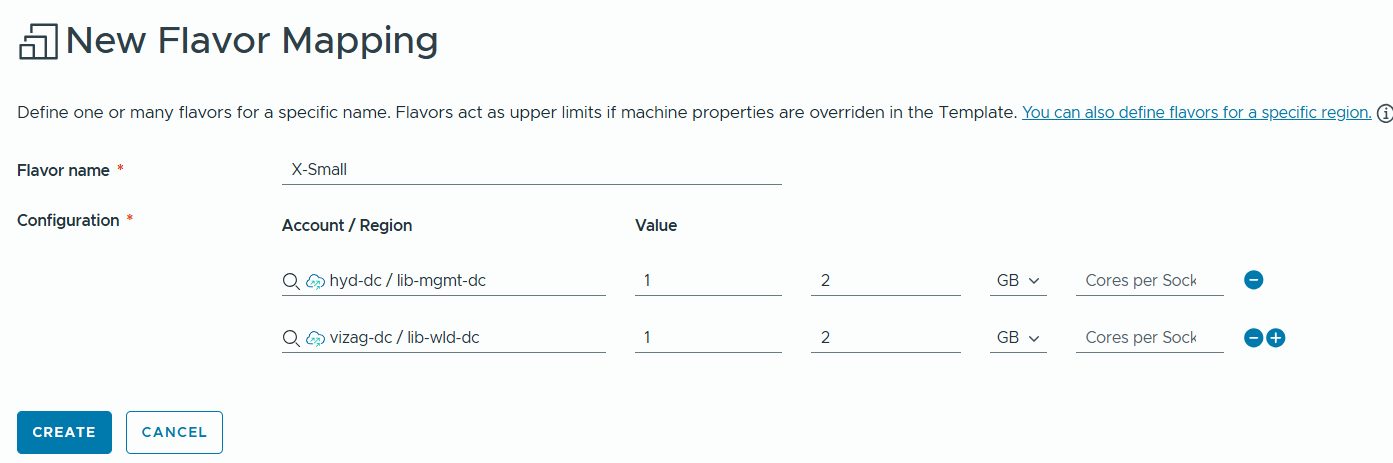
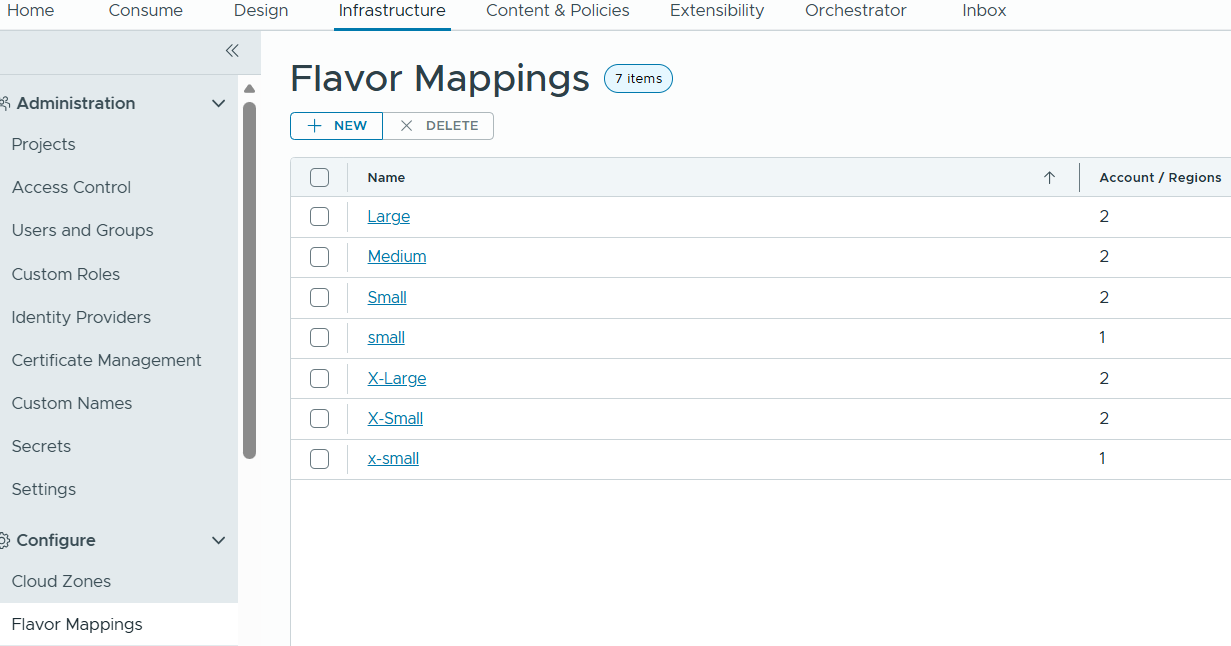
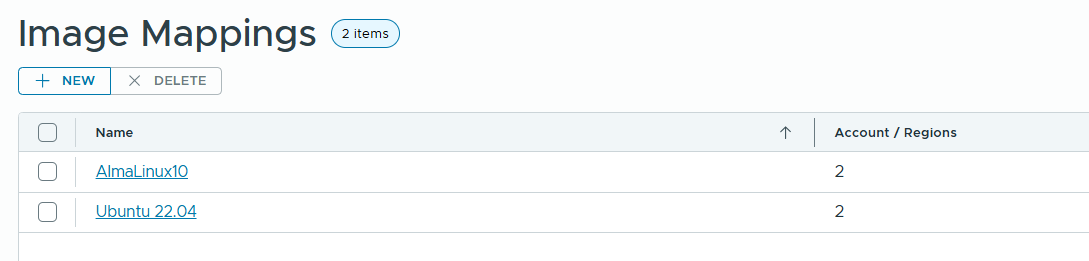
Image Mapping, I have created two Image mappings for AlmaLinux10 and Ubuntu 22.04. These images are synced from content library. It is mentioned windows image in sample project requirements, but I do not have Windows image in the lab.

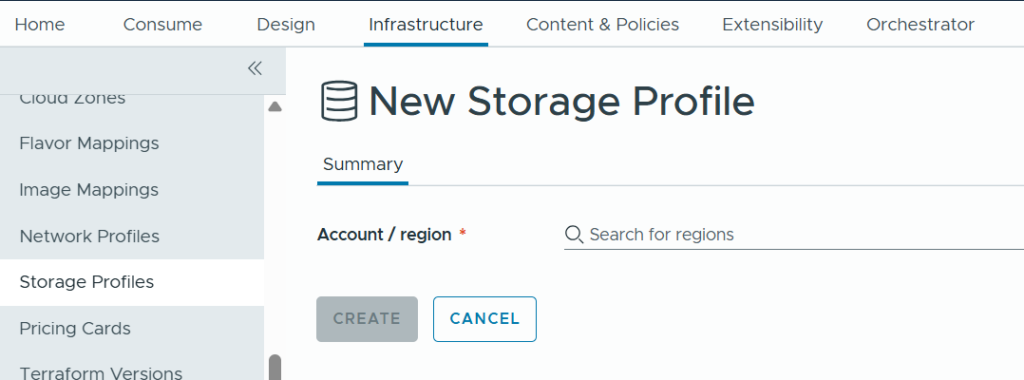
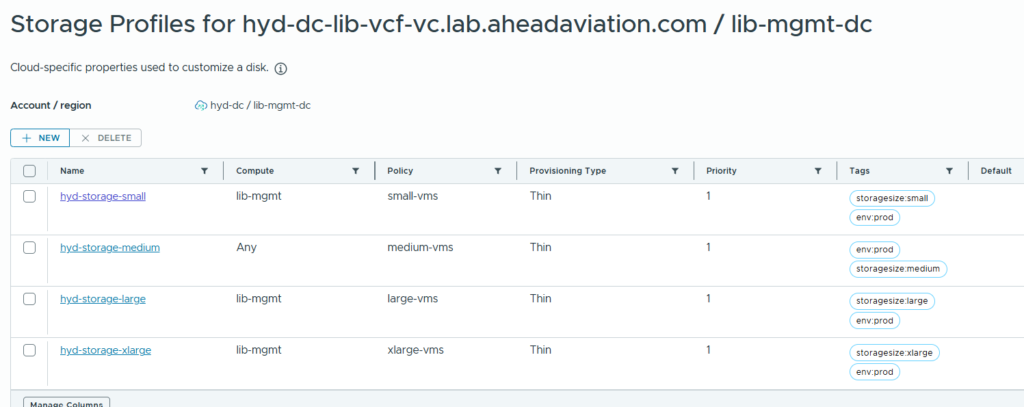
Next, we will have to create Storage profiles.
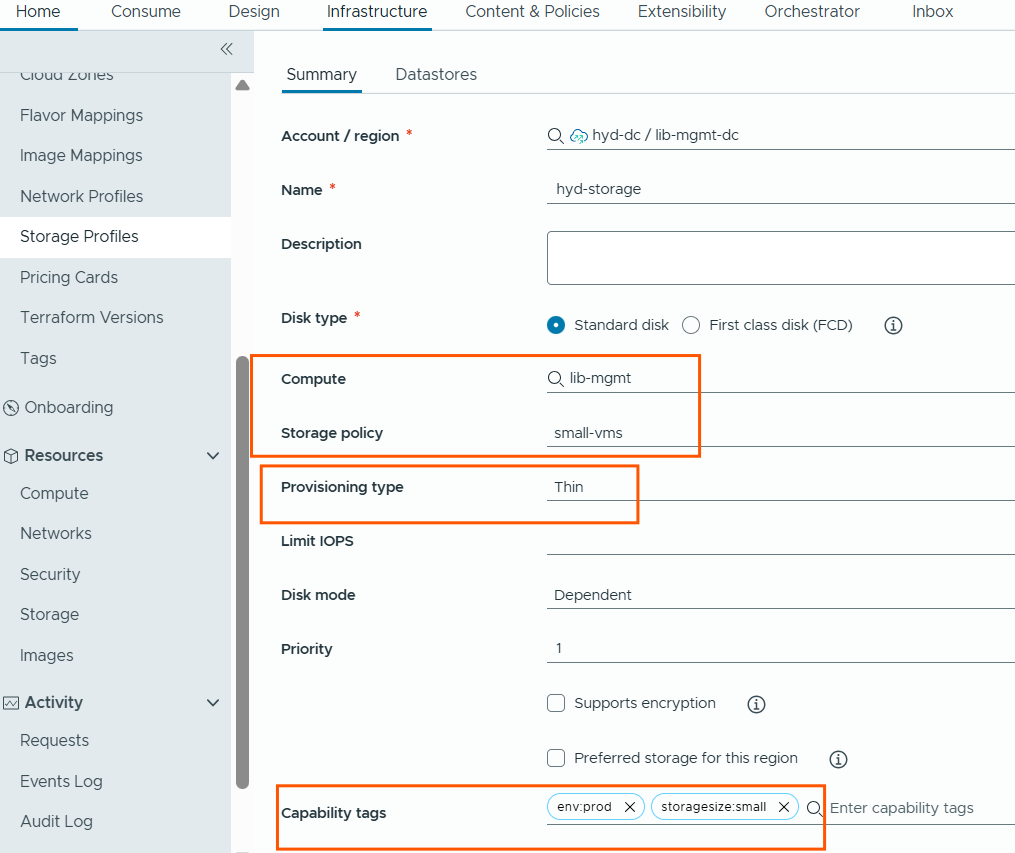
we will repeat same steps for medium, large, xlarge storage policies as well.
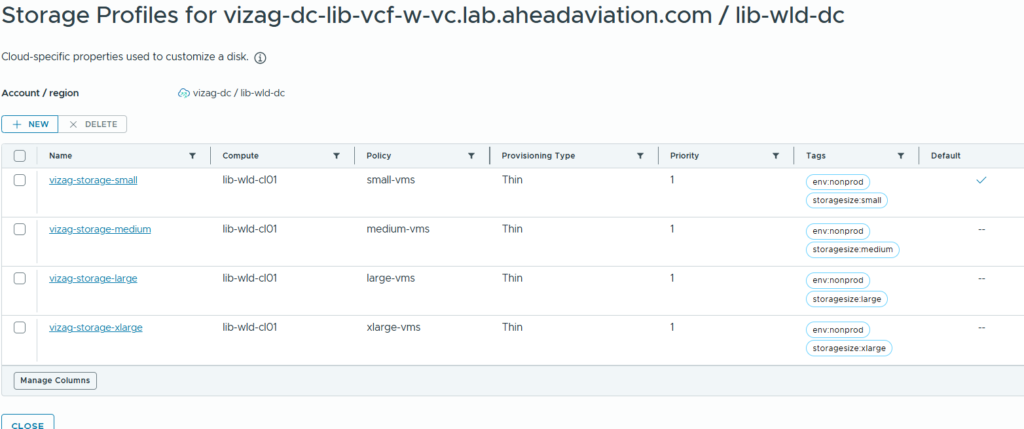
We will do same for the vizag dc as well.
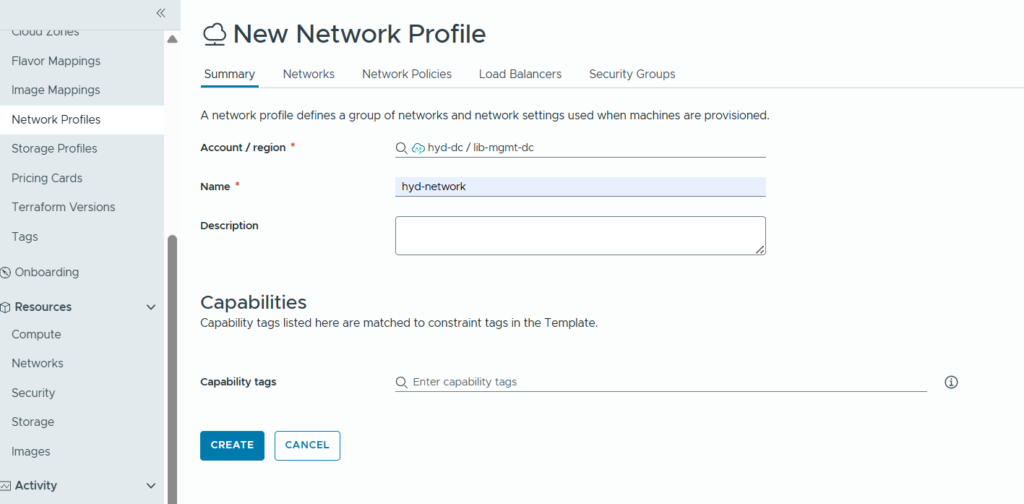
Next, we will create Network profiles.
Fill in the details and click Networks tab.
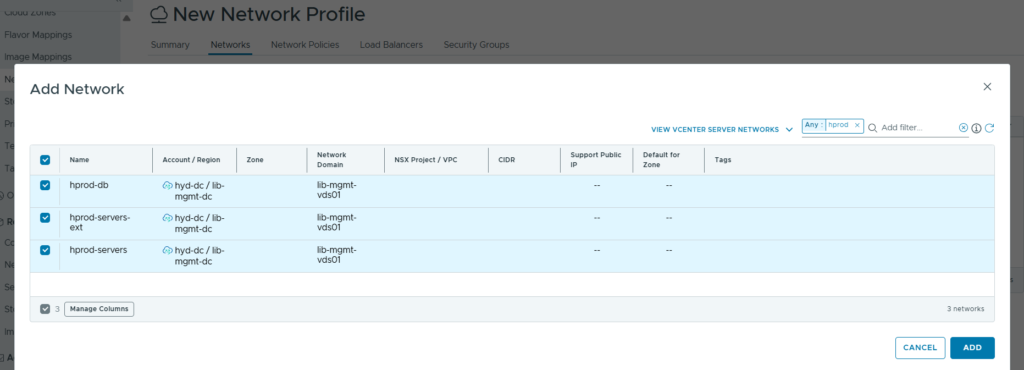
In Networks tab, we will add required networks.
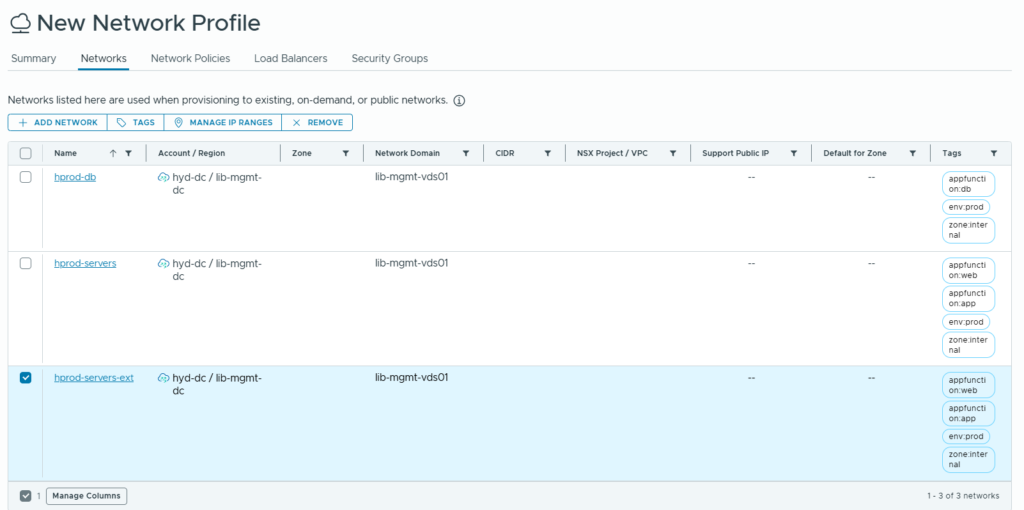
Select each network and tag them appropriately.
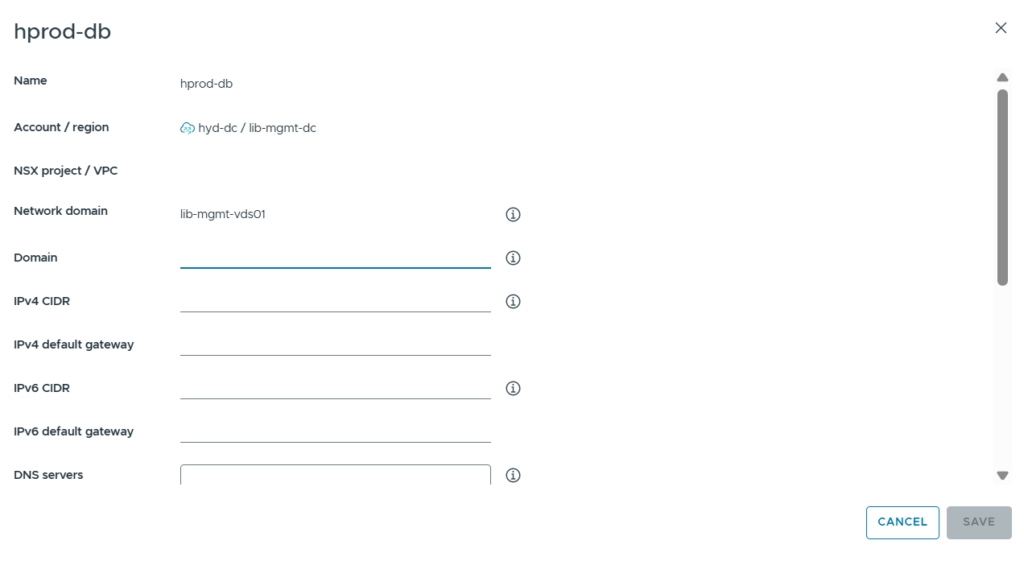
Select each network and define the network specifications and specify the IP range to be used from the selected network.
We will do the same steps for Vizag dc as well.
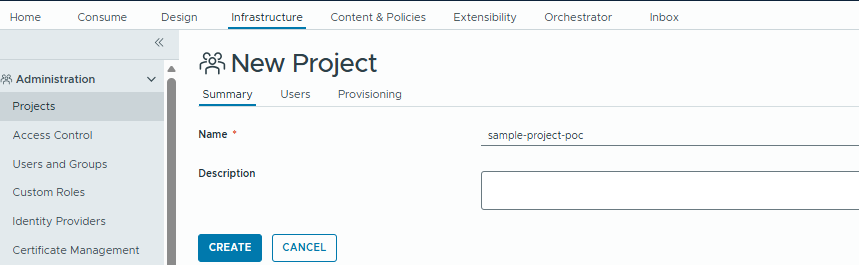
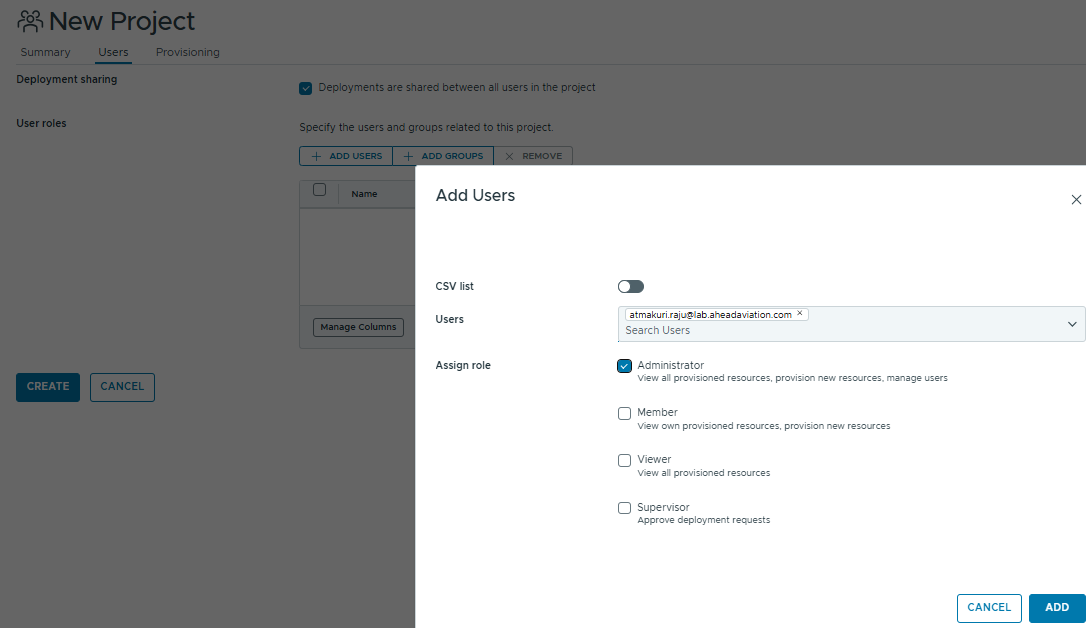
Next, we will create a Project and associate Users and cloud zone to the project.
If we want to control which cloud zone user can deploy the resources, we can adjust the cloud zone selection here.
Users in this project can deploy the resources in both cloud zones, so I selected both cloud zones.

With this, infrastructure setup in VM Apps Organization is completed.
In next blog, we will add orchestrator integration, run the required orchestrator workflows populate orchestrator inventory with vCenter, AD hosts, and start working on the blueprint creation and test the placement logic.
Thank you for reading.