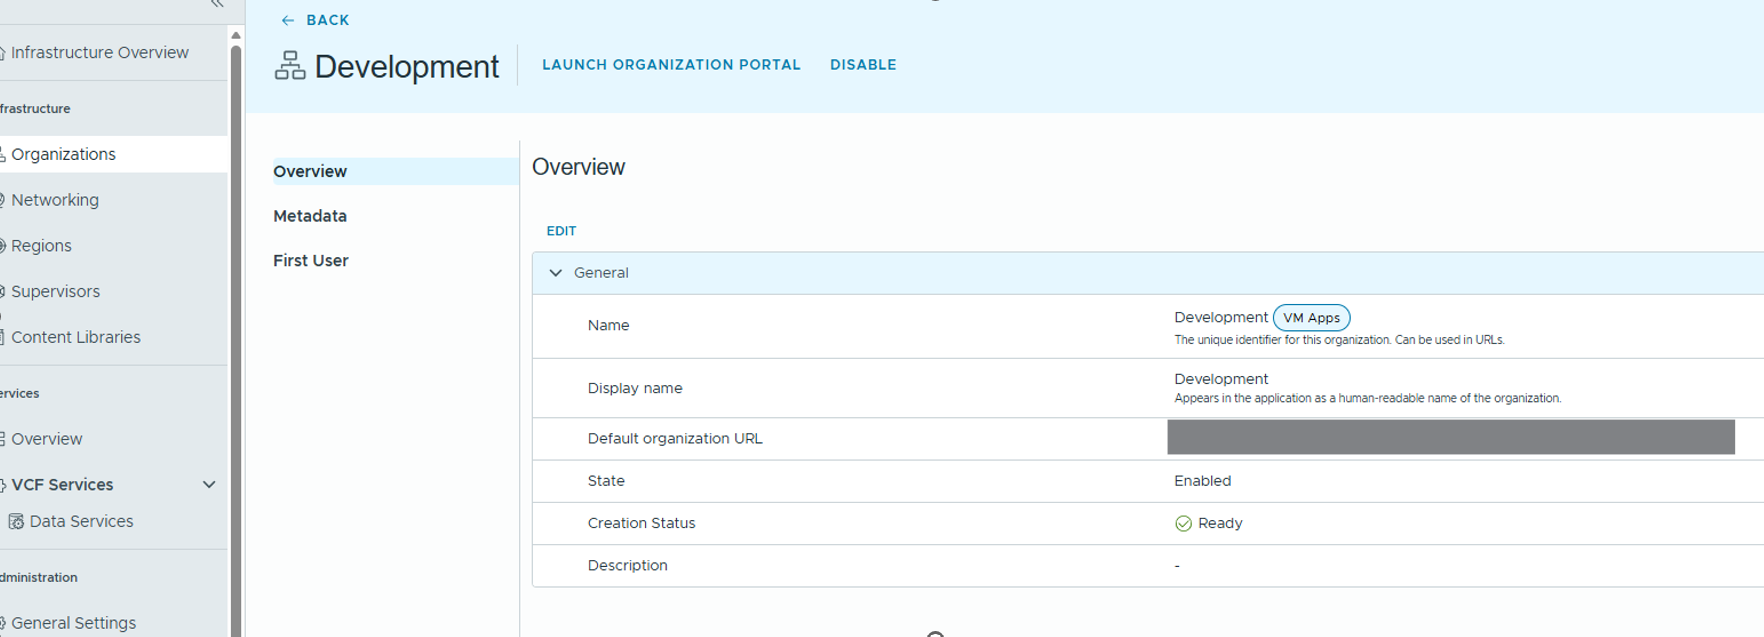
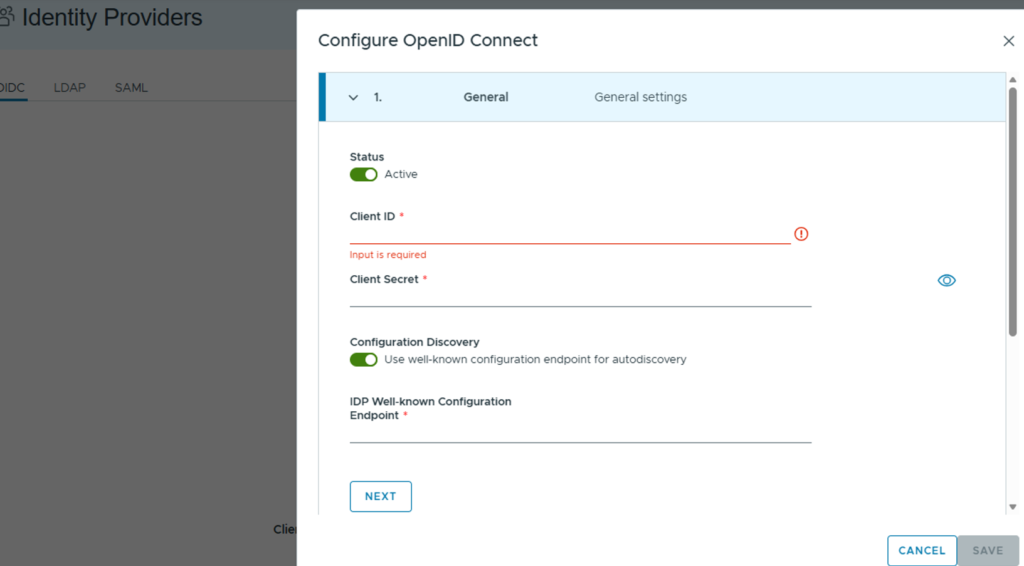
In this blog, we will configure VCF SSO as identity provider for a VM Apps Organization. We have already created a VM Apps organization with a first user as administrator, we login VM Apps organization as administrator then follow below steps to configure the Identity provider.
I recommend reading other parts of the blog series to get the full understanding of this series.
- Part 1: Automate VM Builds in VCF9 Automation VM Apps Org – Sample Project
- Part 2: Configure VCF SSO as Identity Provider in VM Apps Organization
- Part 3: Configuring VM Apps Organization for Automated VM Builds
- Part 4: Integrating Embedded vRO with VM Apps Organization in VCFA
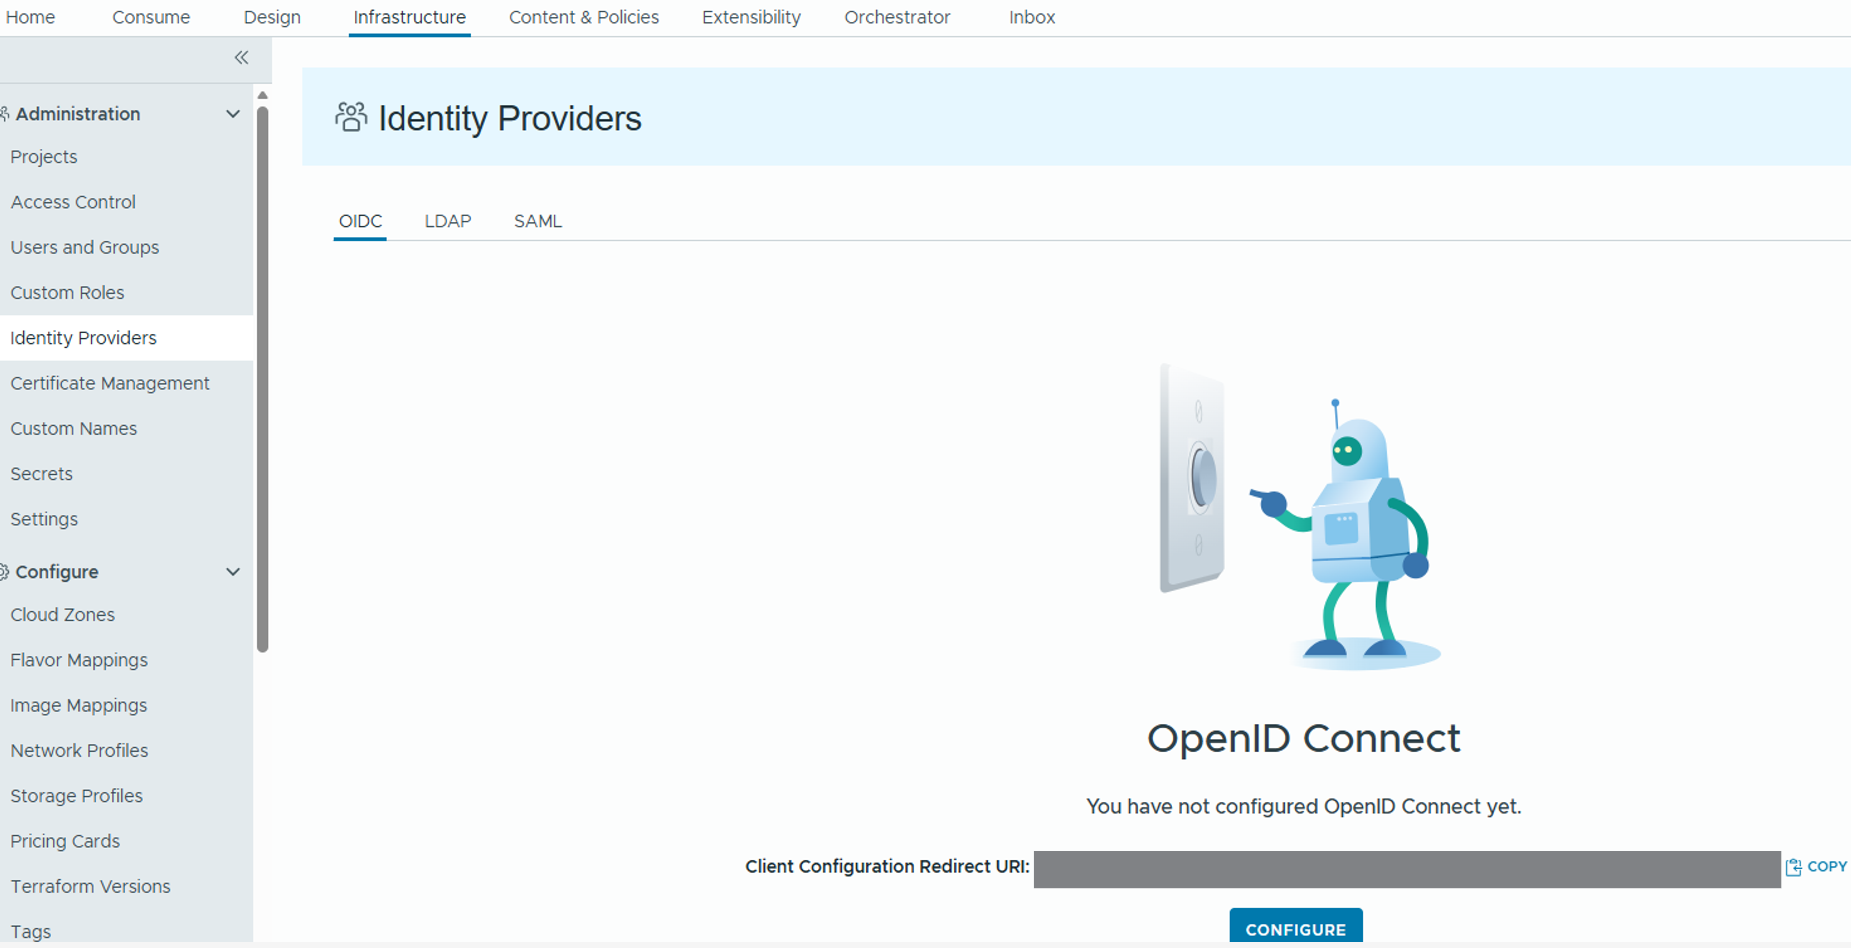
Here we will take a copy of the Redirect URI and save in a notepad. Once you click “CONFIGURE” button, you will get below screen.
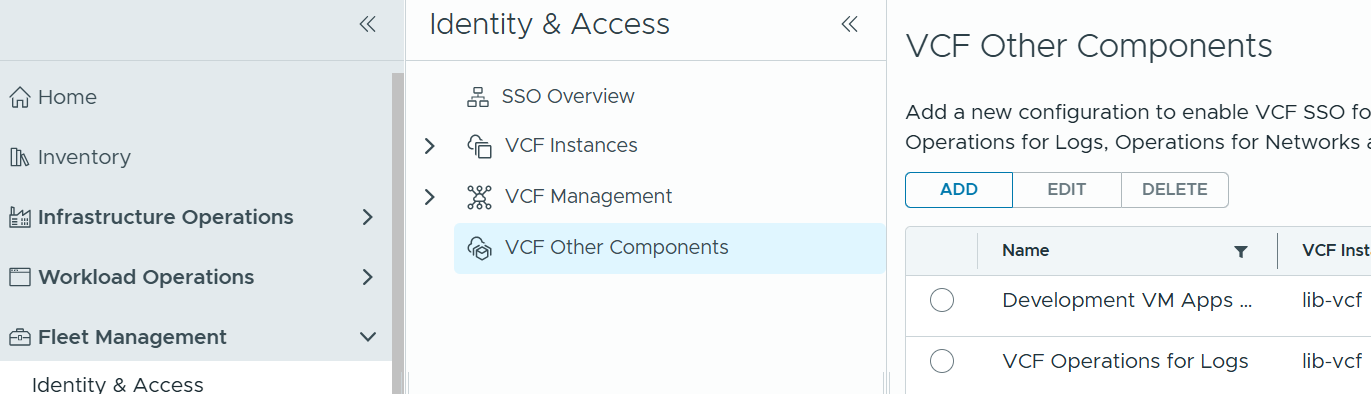
We will login to VCF Operations console to get the ClientID and Client Secret. Go to VCF Ops console –> Fleet Management –> Identity and Access –> VCF Other components –> Add a client for VM Apps organization.
Provide the details for the client
Redirect URI: You copied this Redirect URI earlier, paste it here.
Generally it should be https://<vcf-automation-fqdn>/login/oauth?service=tenant:<VMAppsOrgName>
Post Logout redirect URI:
It should be https://<vcf-automation-fqdn>/tenant/<VMAppsOrgName>/automation/
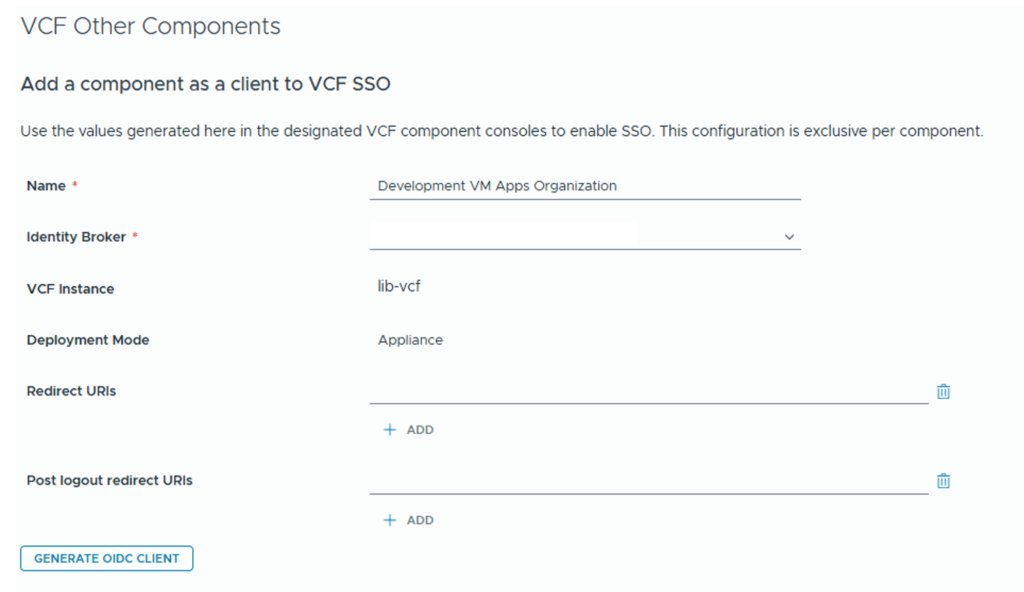
Now, we click “Generate OIDC Client”. Then it will give us the details below. From here we will copy the Client ID and Client Secret.
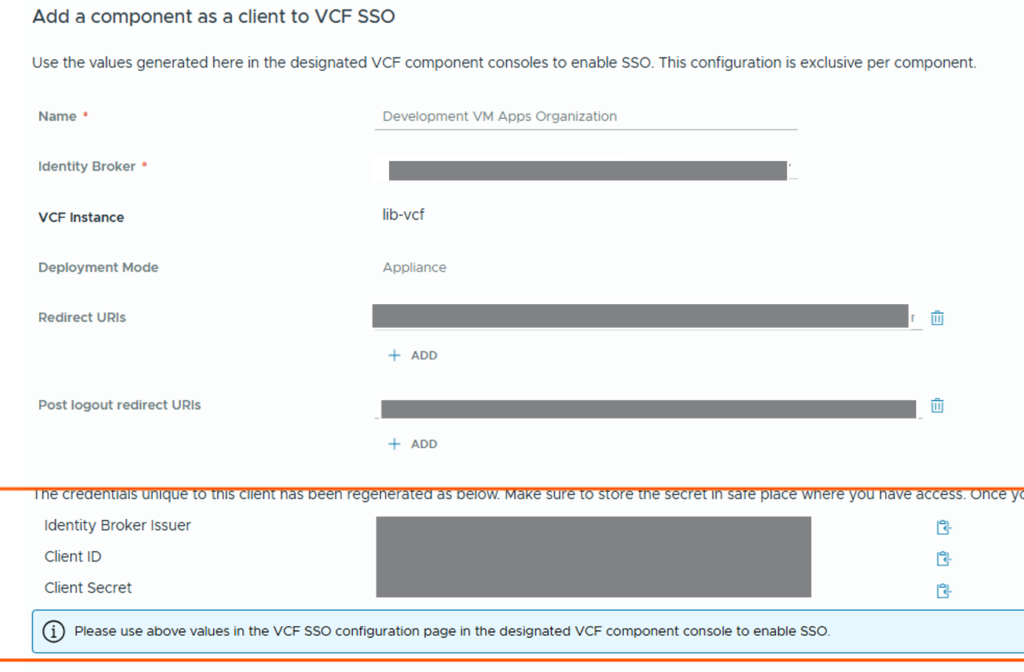
we can click SAVE in VCF Ops console once we grabbed the client ID and Client Secrets.
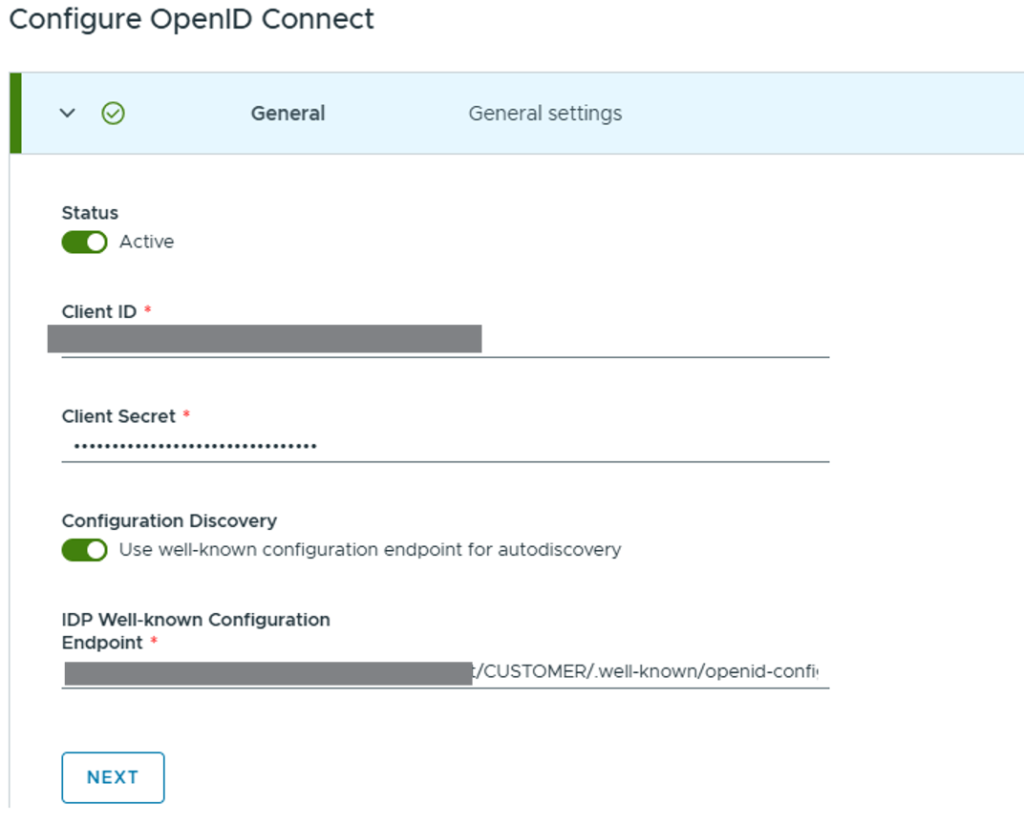
We go to VM Apps Organization screen and fill the details and click Next.
IDP Well-Known Configuration Endpoint should be: https://<vcf-vidb-fqdn>/acs/t/CUSTOMER/.well-known/openid-configuration
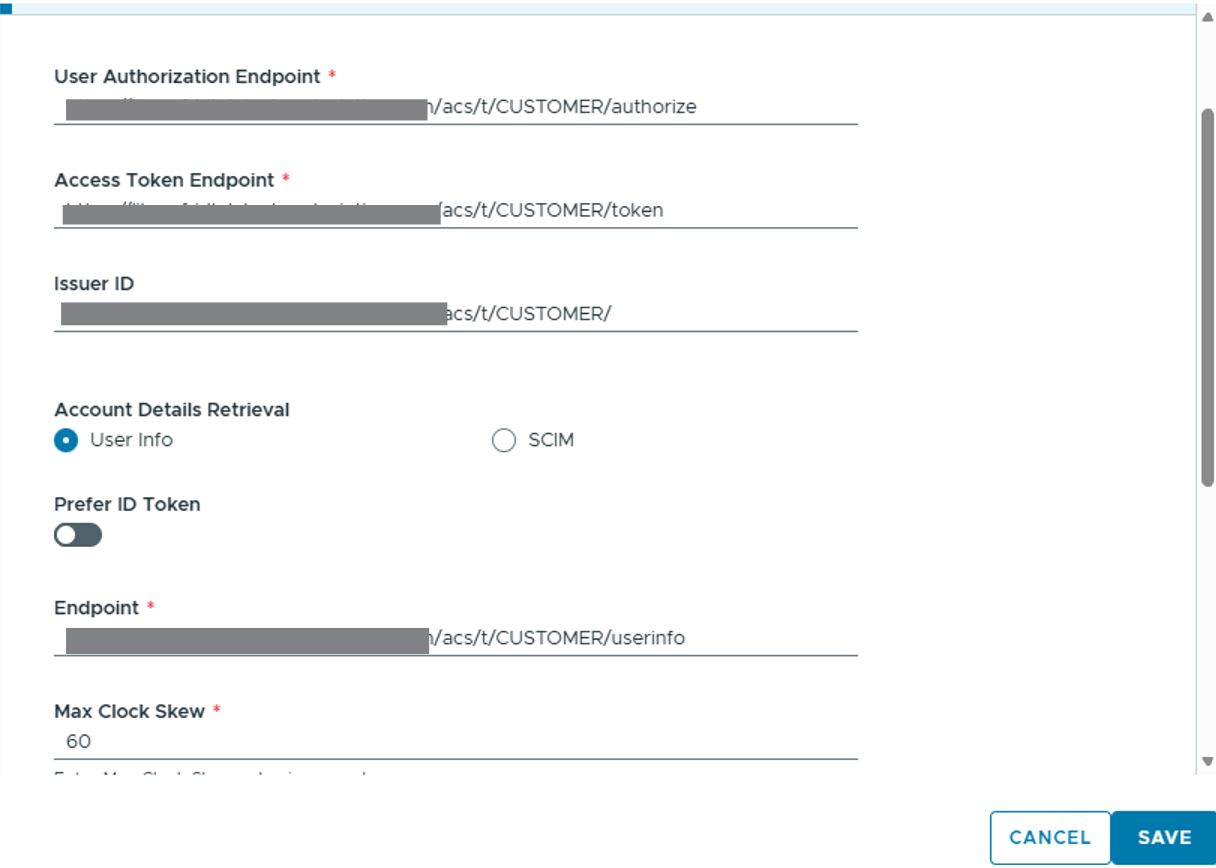
Click Next, then these endpoints are automatically filled.
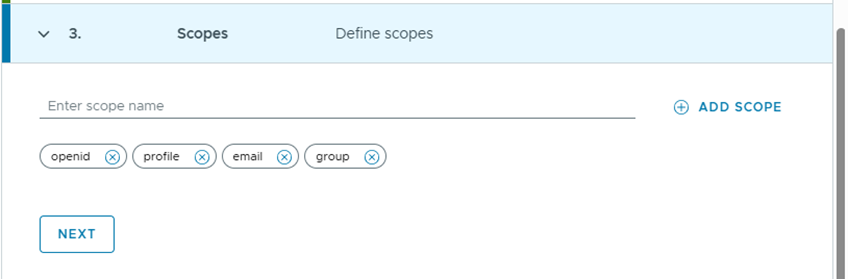
Click Next and make sure groups is there in scopes list.
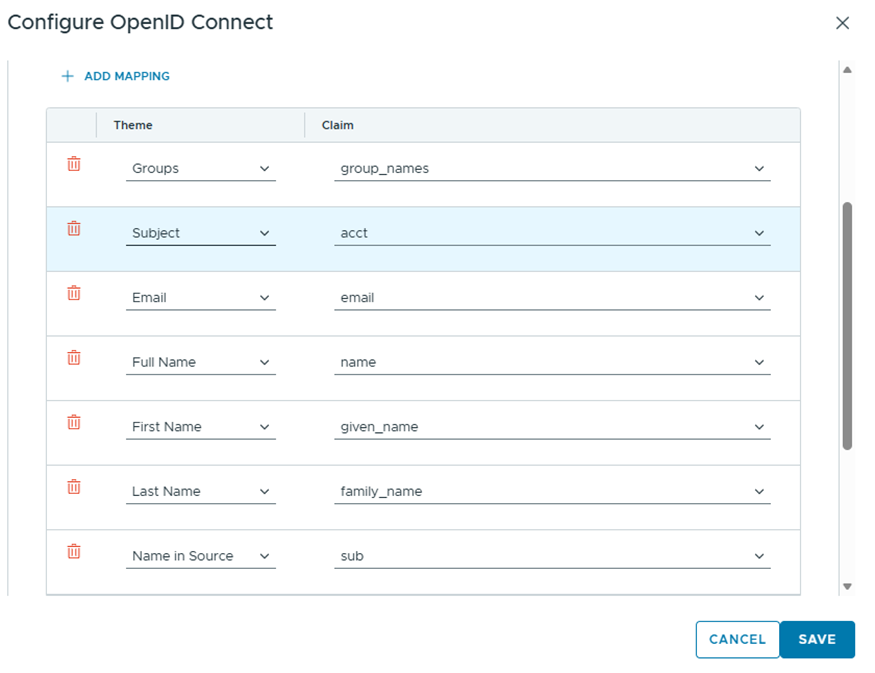
Click Next, configure the below mappings as below.
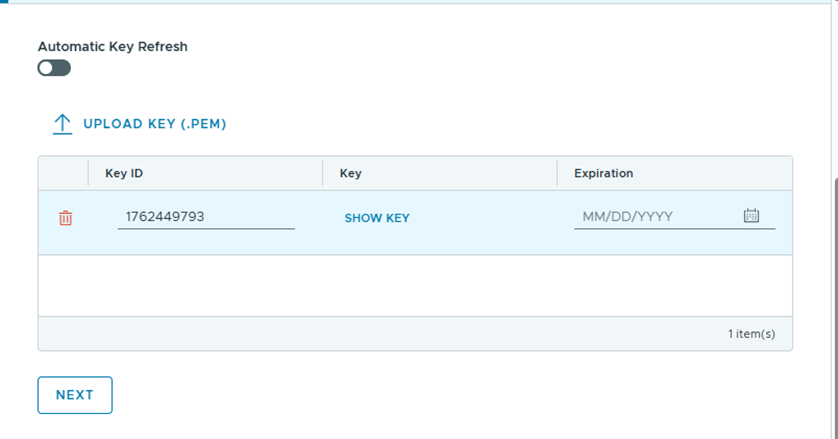
click Next, Key will be automatically populated.
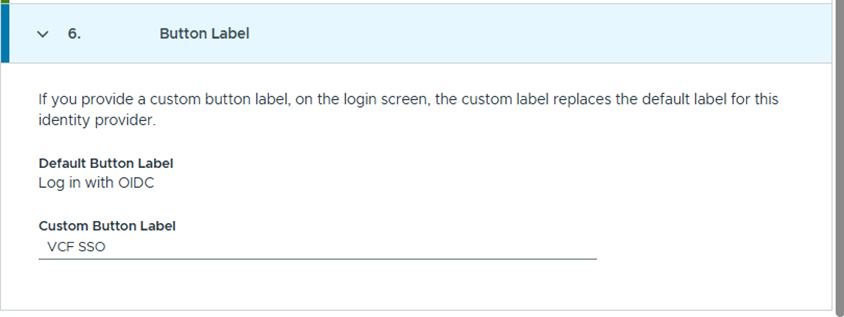
Click Next and provide the display button name as you wish. Here in this example, I have typed VCF SSO. But it can be anything. and click SAVE.
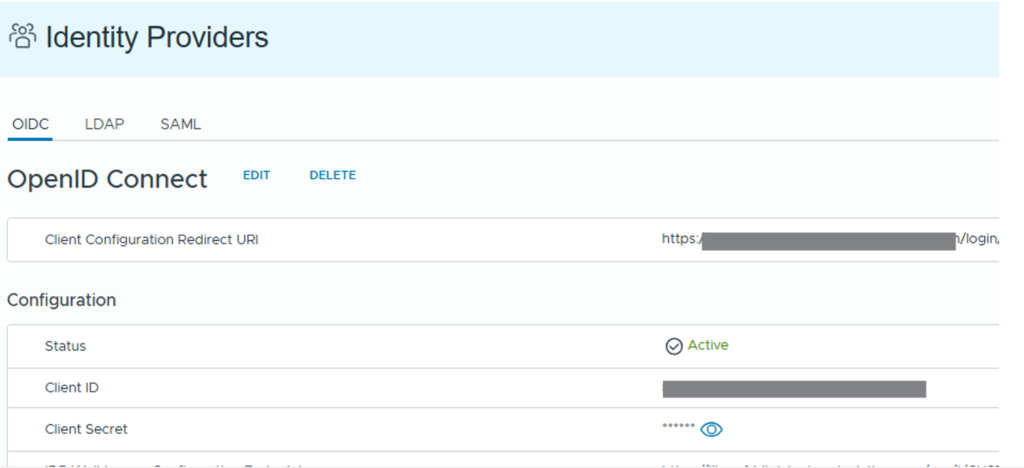
With this Identity provider configuration is completed.
Now we can import some groups and check the login.
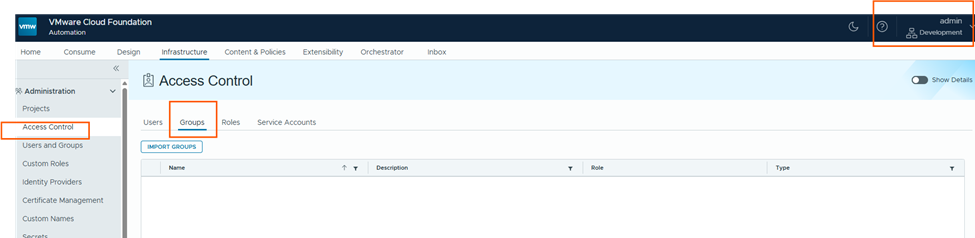
Click on Import groups, and type the group name in <groupname>@<domain-name> format. and assign the roles.
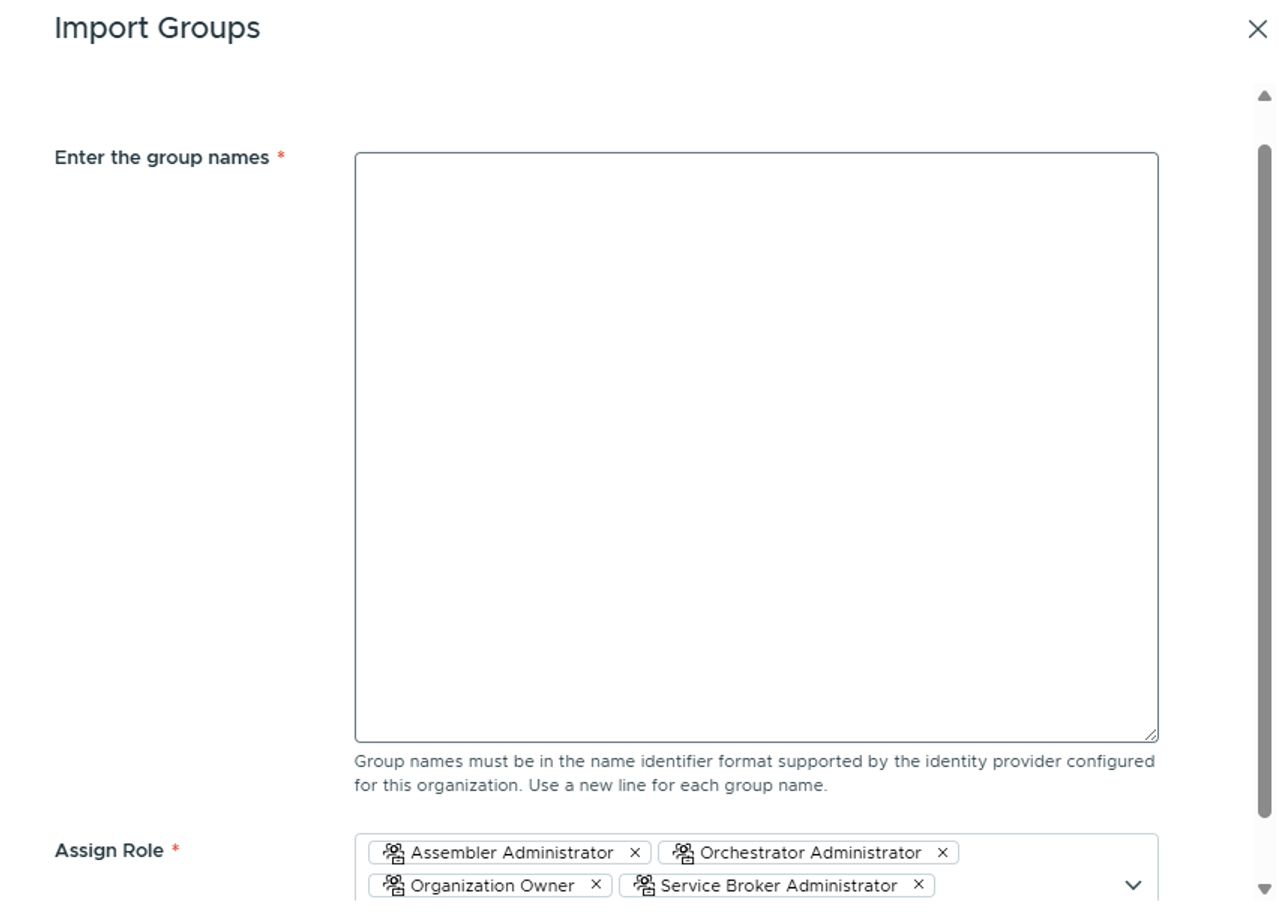
then click SAVE.
Users will not be populated until a user is logged in via VCF SSO.

I tested login with my user and then I can see the user details are populated, I can see my user have administrator role.
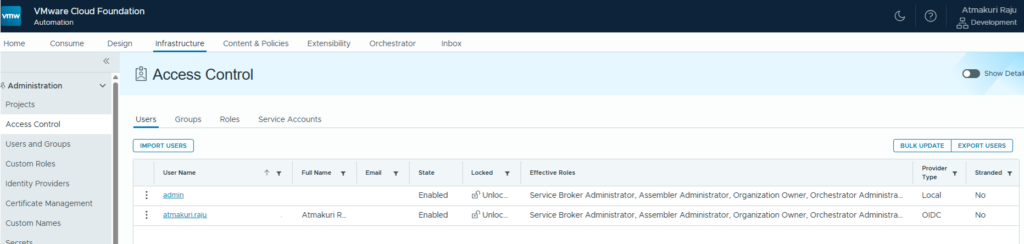
With this, we have successfully completed setting up OIDC based identity provider in VM Apps organization, we also imported the user groups and tested user login. Thank you for reading.